Running Windows 11 On Mac Arm Chip For Free
Running Windows 11 on MacOS for ARM Architecture is more work than I ever expected.
Bootcamp? Dead.
Parallels? Expensive.
VMWare? Same as parallels.
VirtualBox? Doesn’t support M* / ARM chips.
Enter: QEMU.
The problem with QEMU is their CLI rivals that of FFMPEG, ImageMagick, or any other C-based library that has been around forever. The CLI is full of many options and magical incantations. So to side step this, we’ll use a GUI called “UTM”
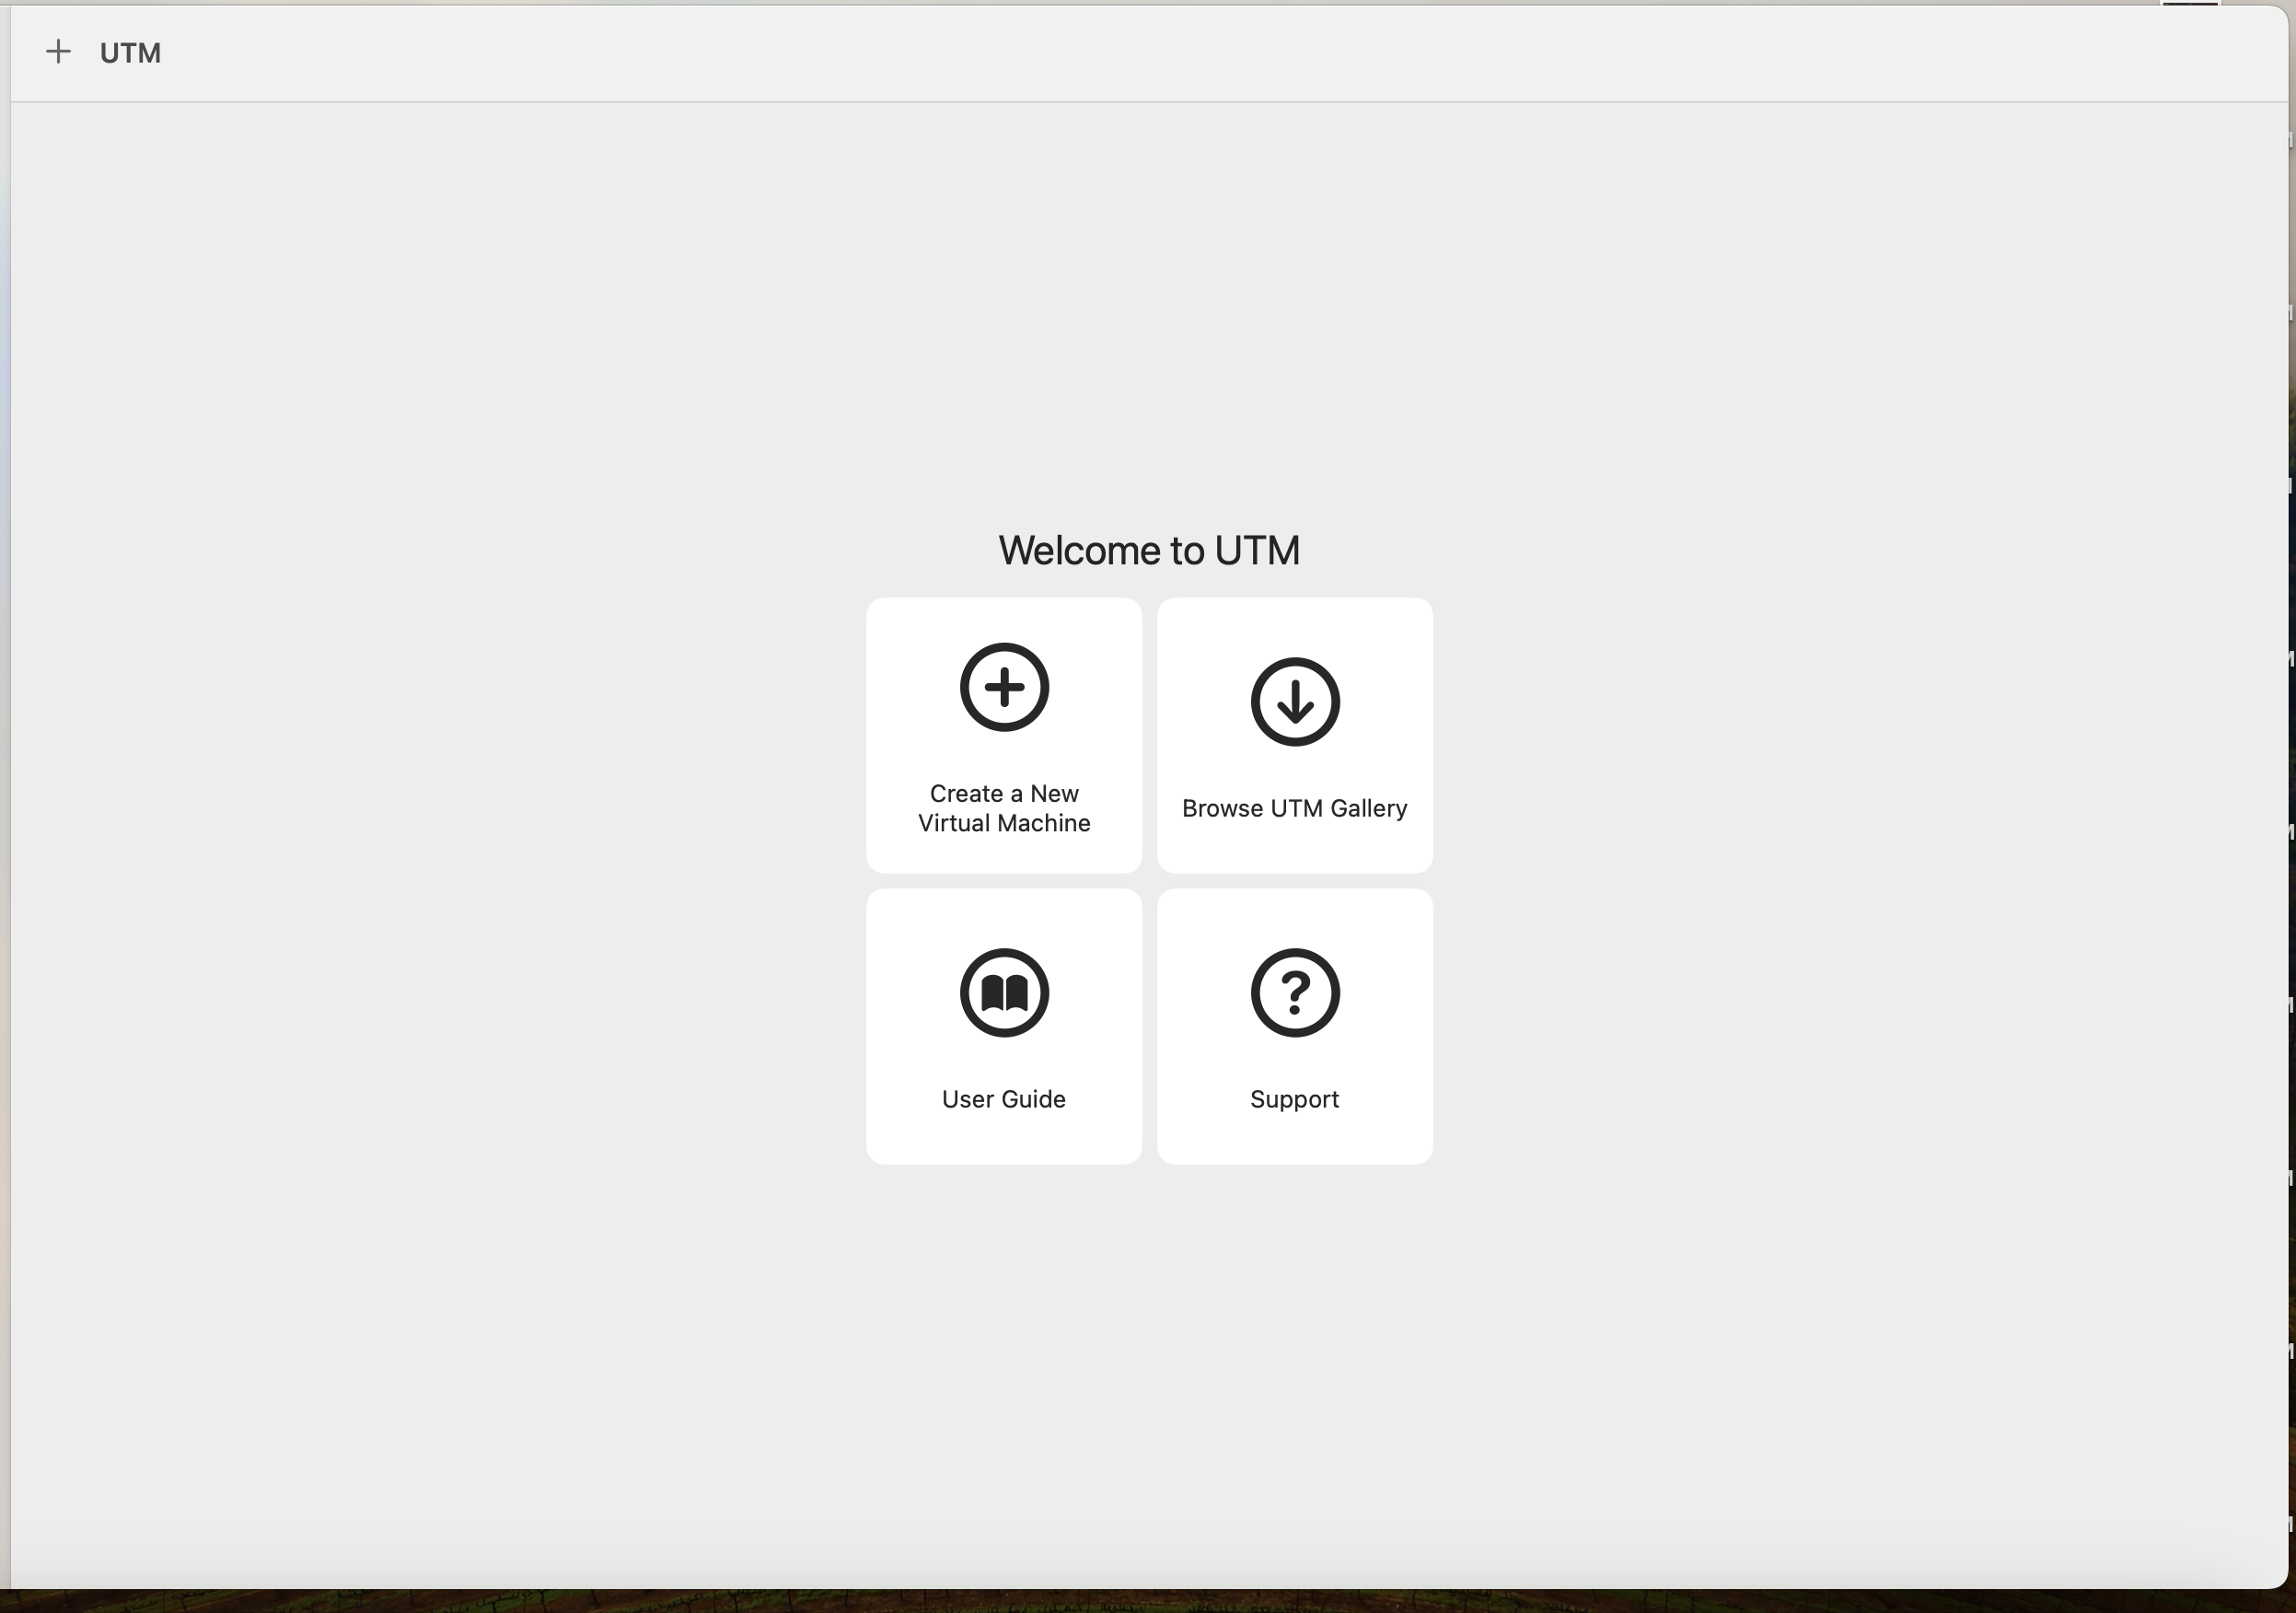
Once you’ve downloaded UTM. Open up the .dmg, drag it into Applications, and then open it.
You’ll notice we don’t have a .iso file to run. And if you visit the documentation for Windows 11, it’ll tell you to download a tool called Crystal Fetch
Docs for Windows 11: https://docs.getutm.app/guides/windows/
After downloading and extracting the .dmg, you should see the following screen for Crystal Fetch.
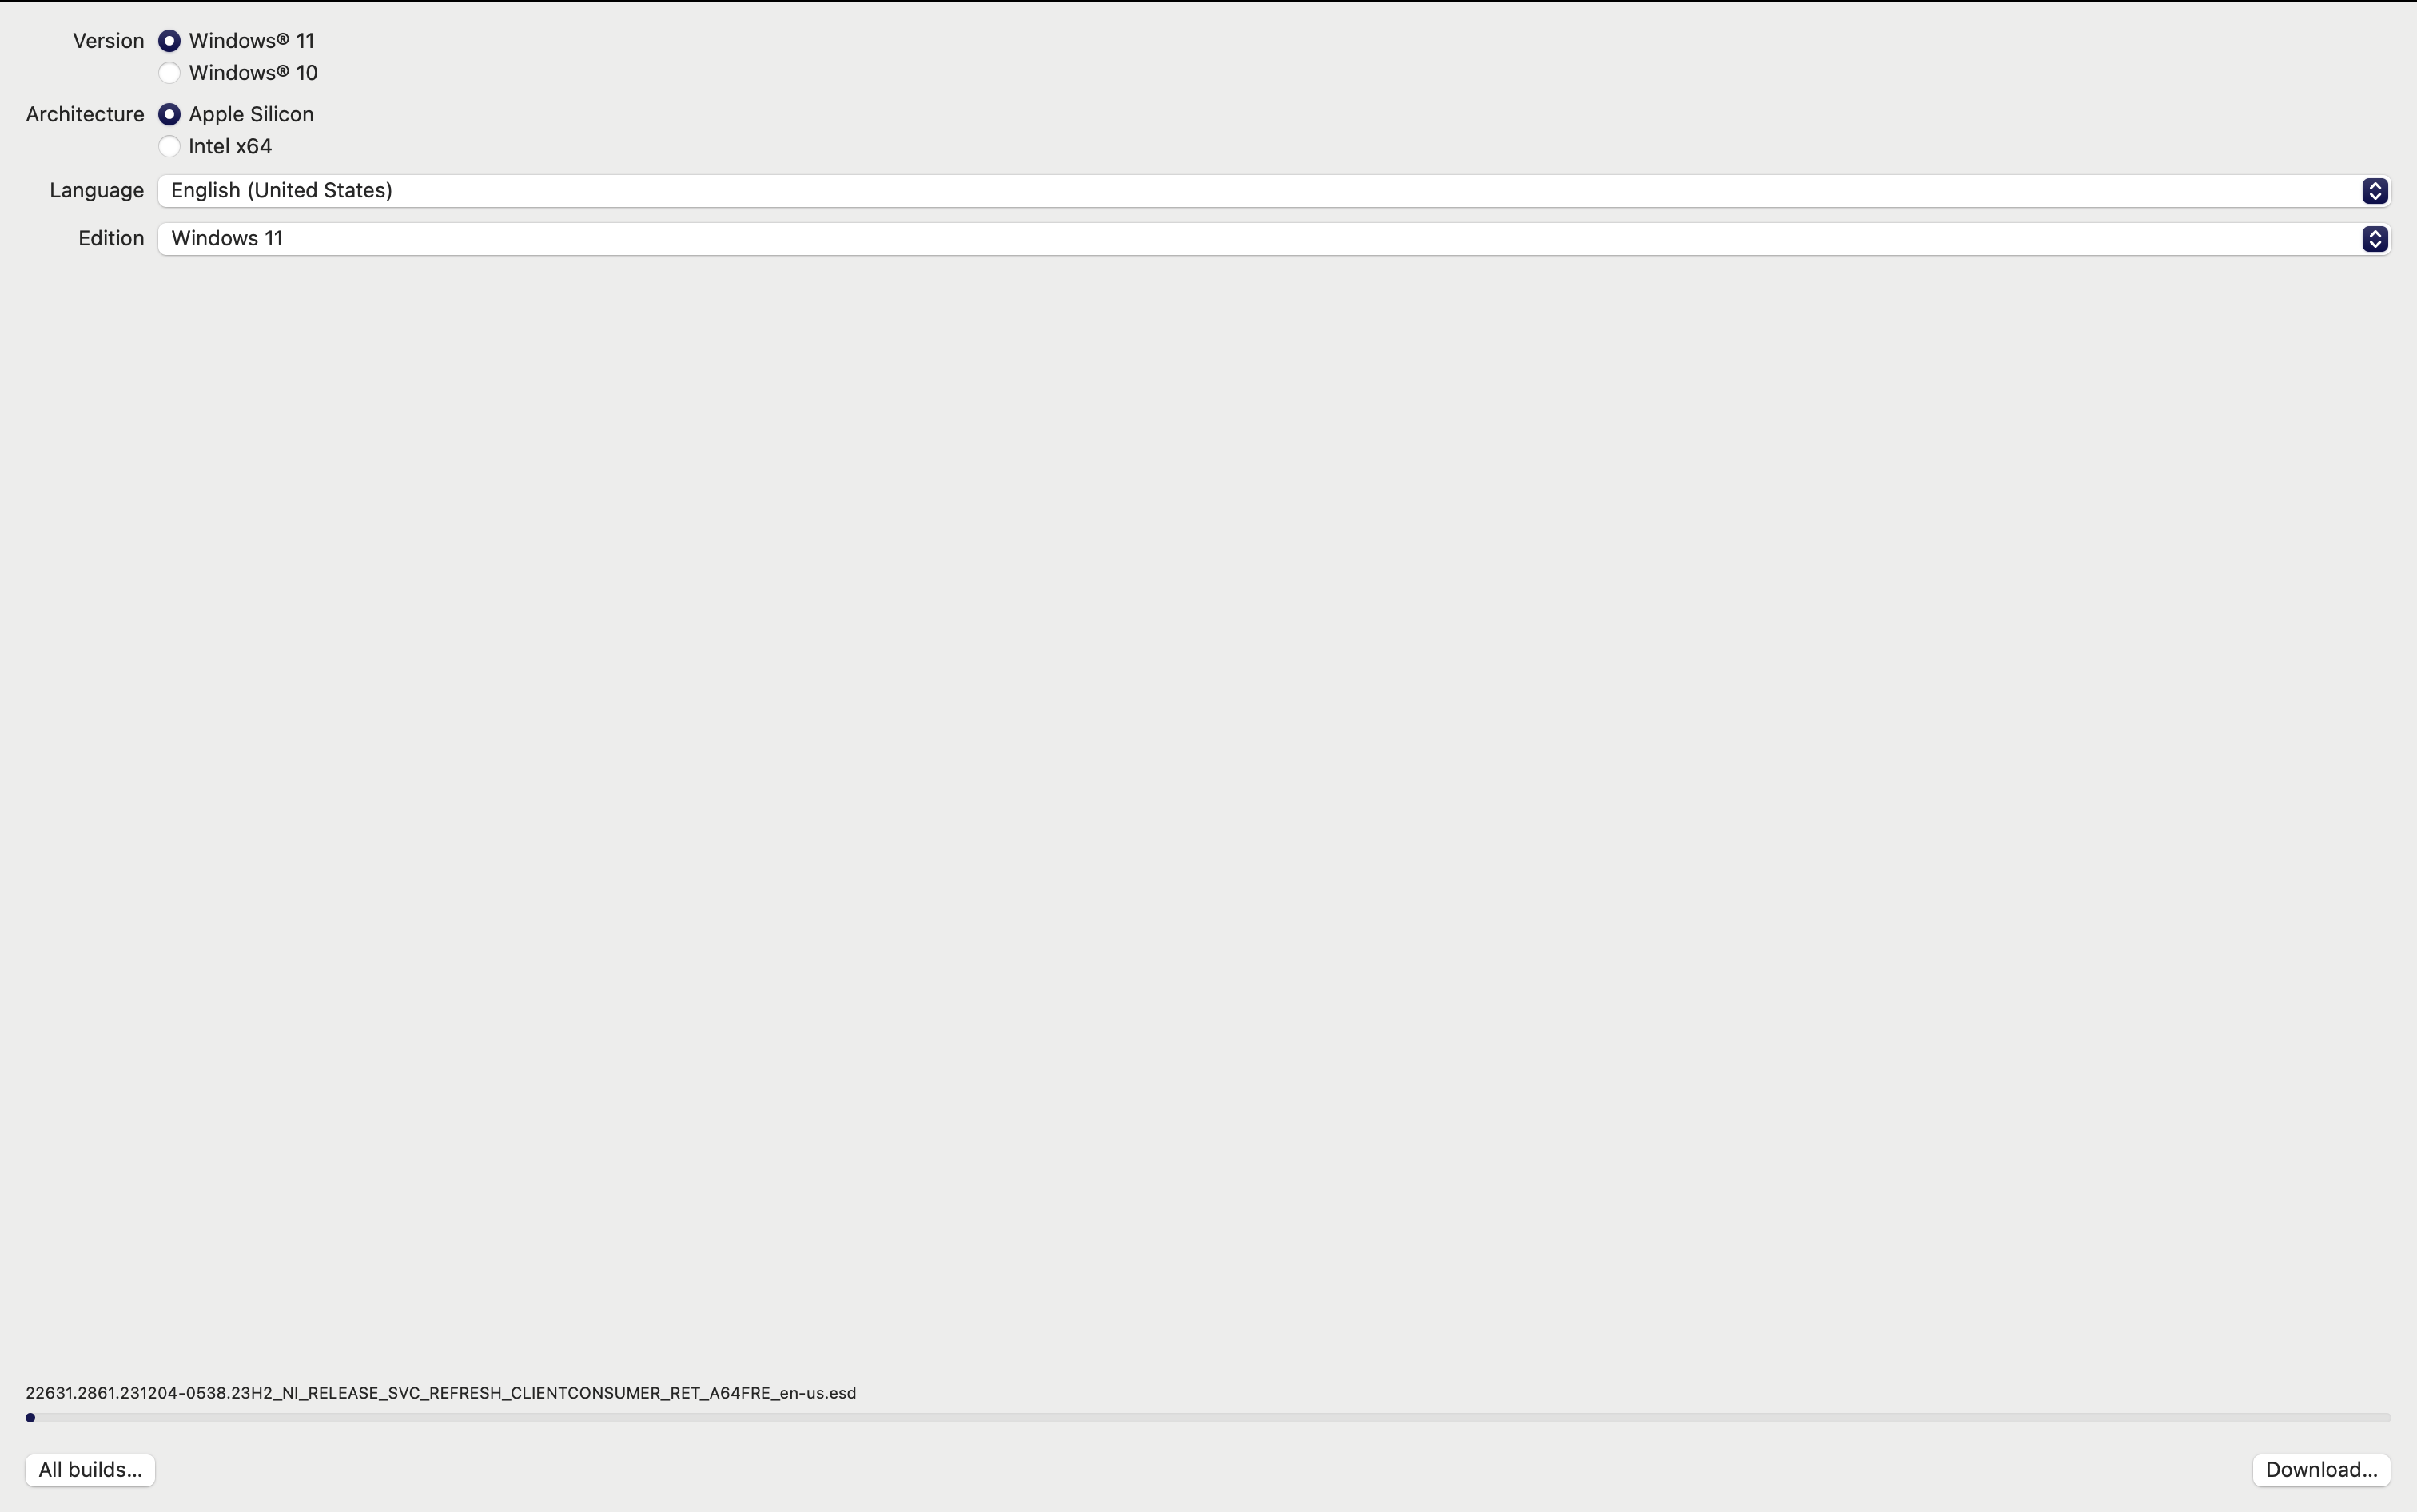
Click the “Download” button in the bottom right corner to start downloading the Windows 11 ISO.
Sometimes the crystal fetch download doesn’t go where you want. If you can’t find the downloads, check this location:
~/Library/Containers/llc.turing.CrystalFetch/Data/Library/Caches/
For possible downloads.
Now that you’ve installed the .iso for Windows 11, go back to UTM and select “Create a new virtual machine”.
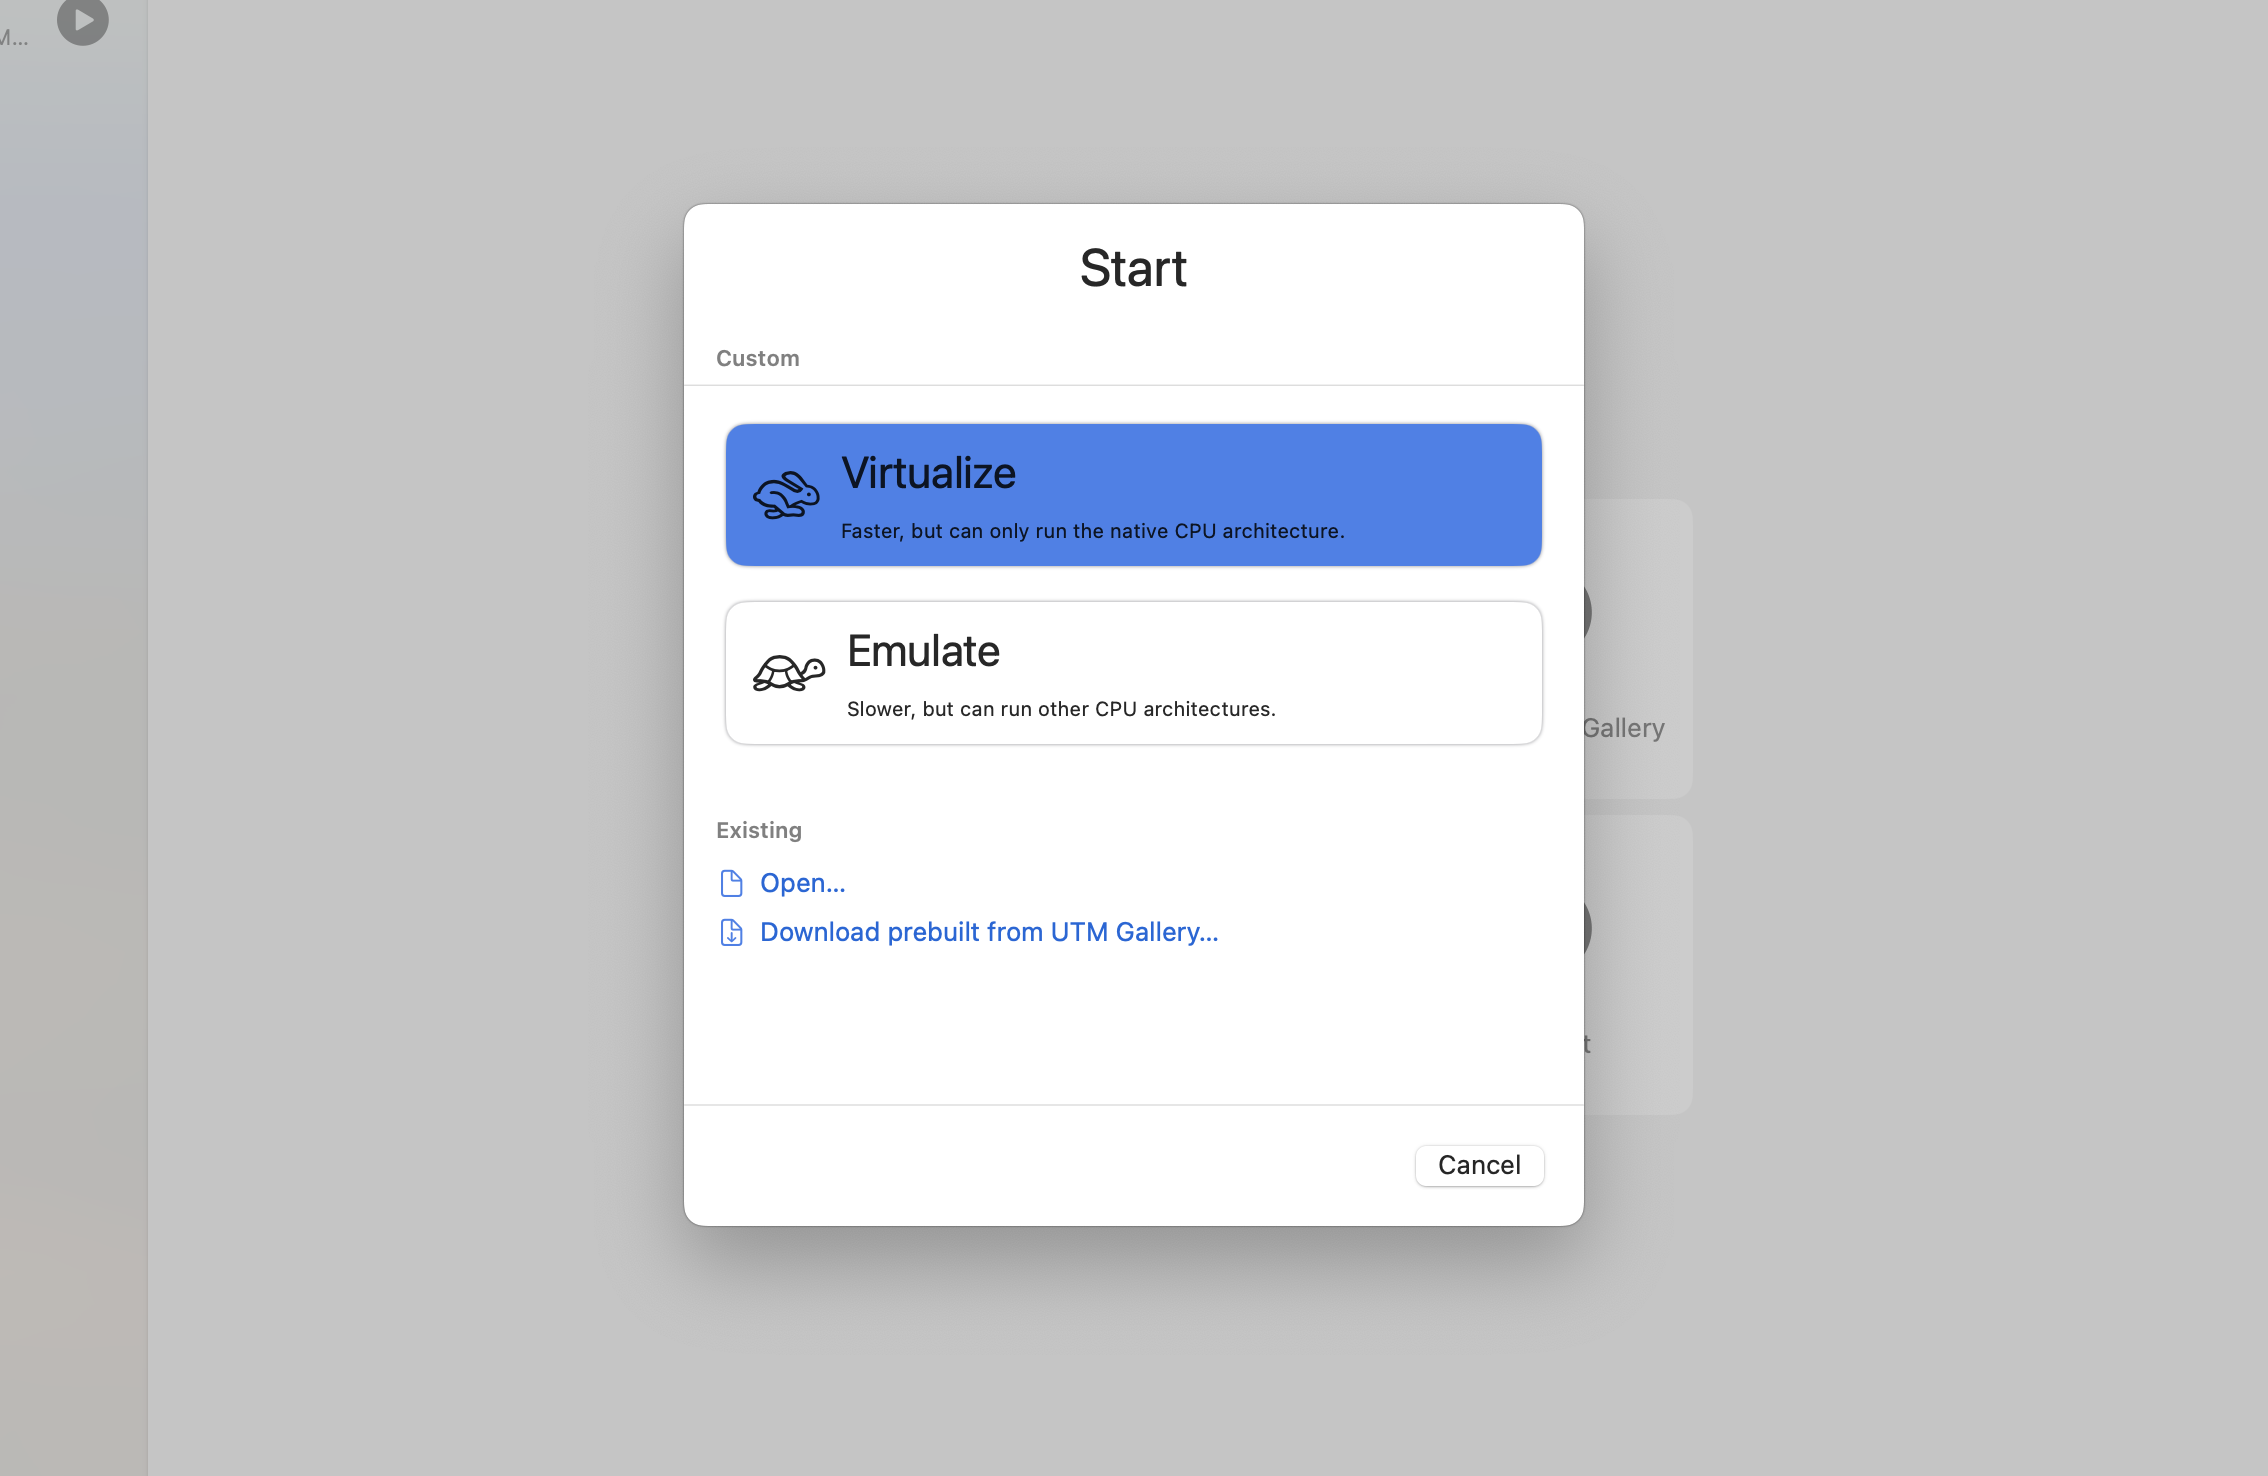
The next step is important. I could not get “Emulate” to work on my Mac M1. Instead, make sure to choose “Virtualize”.
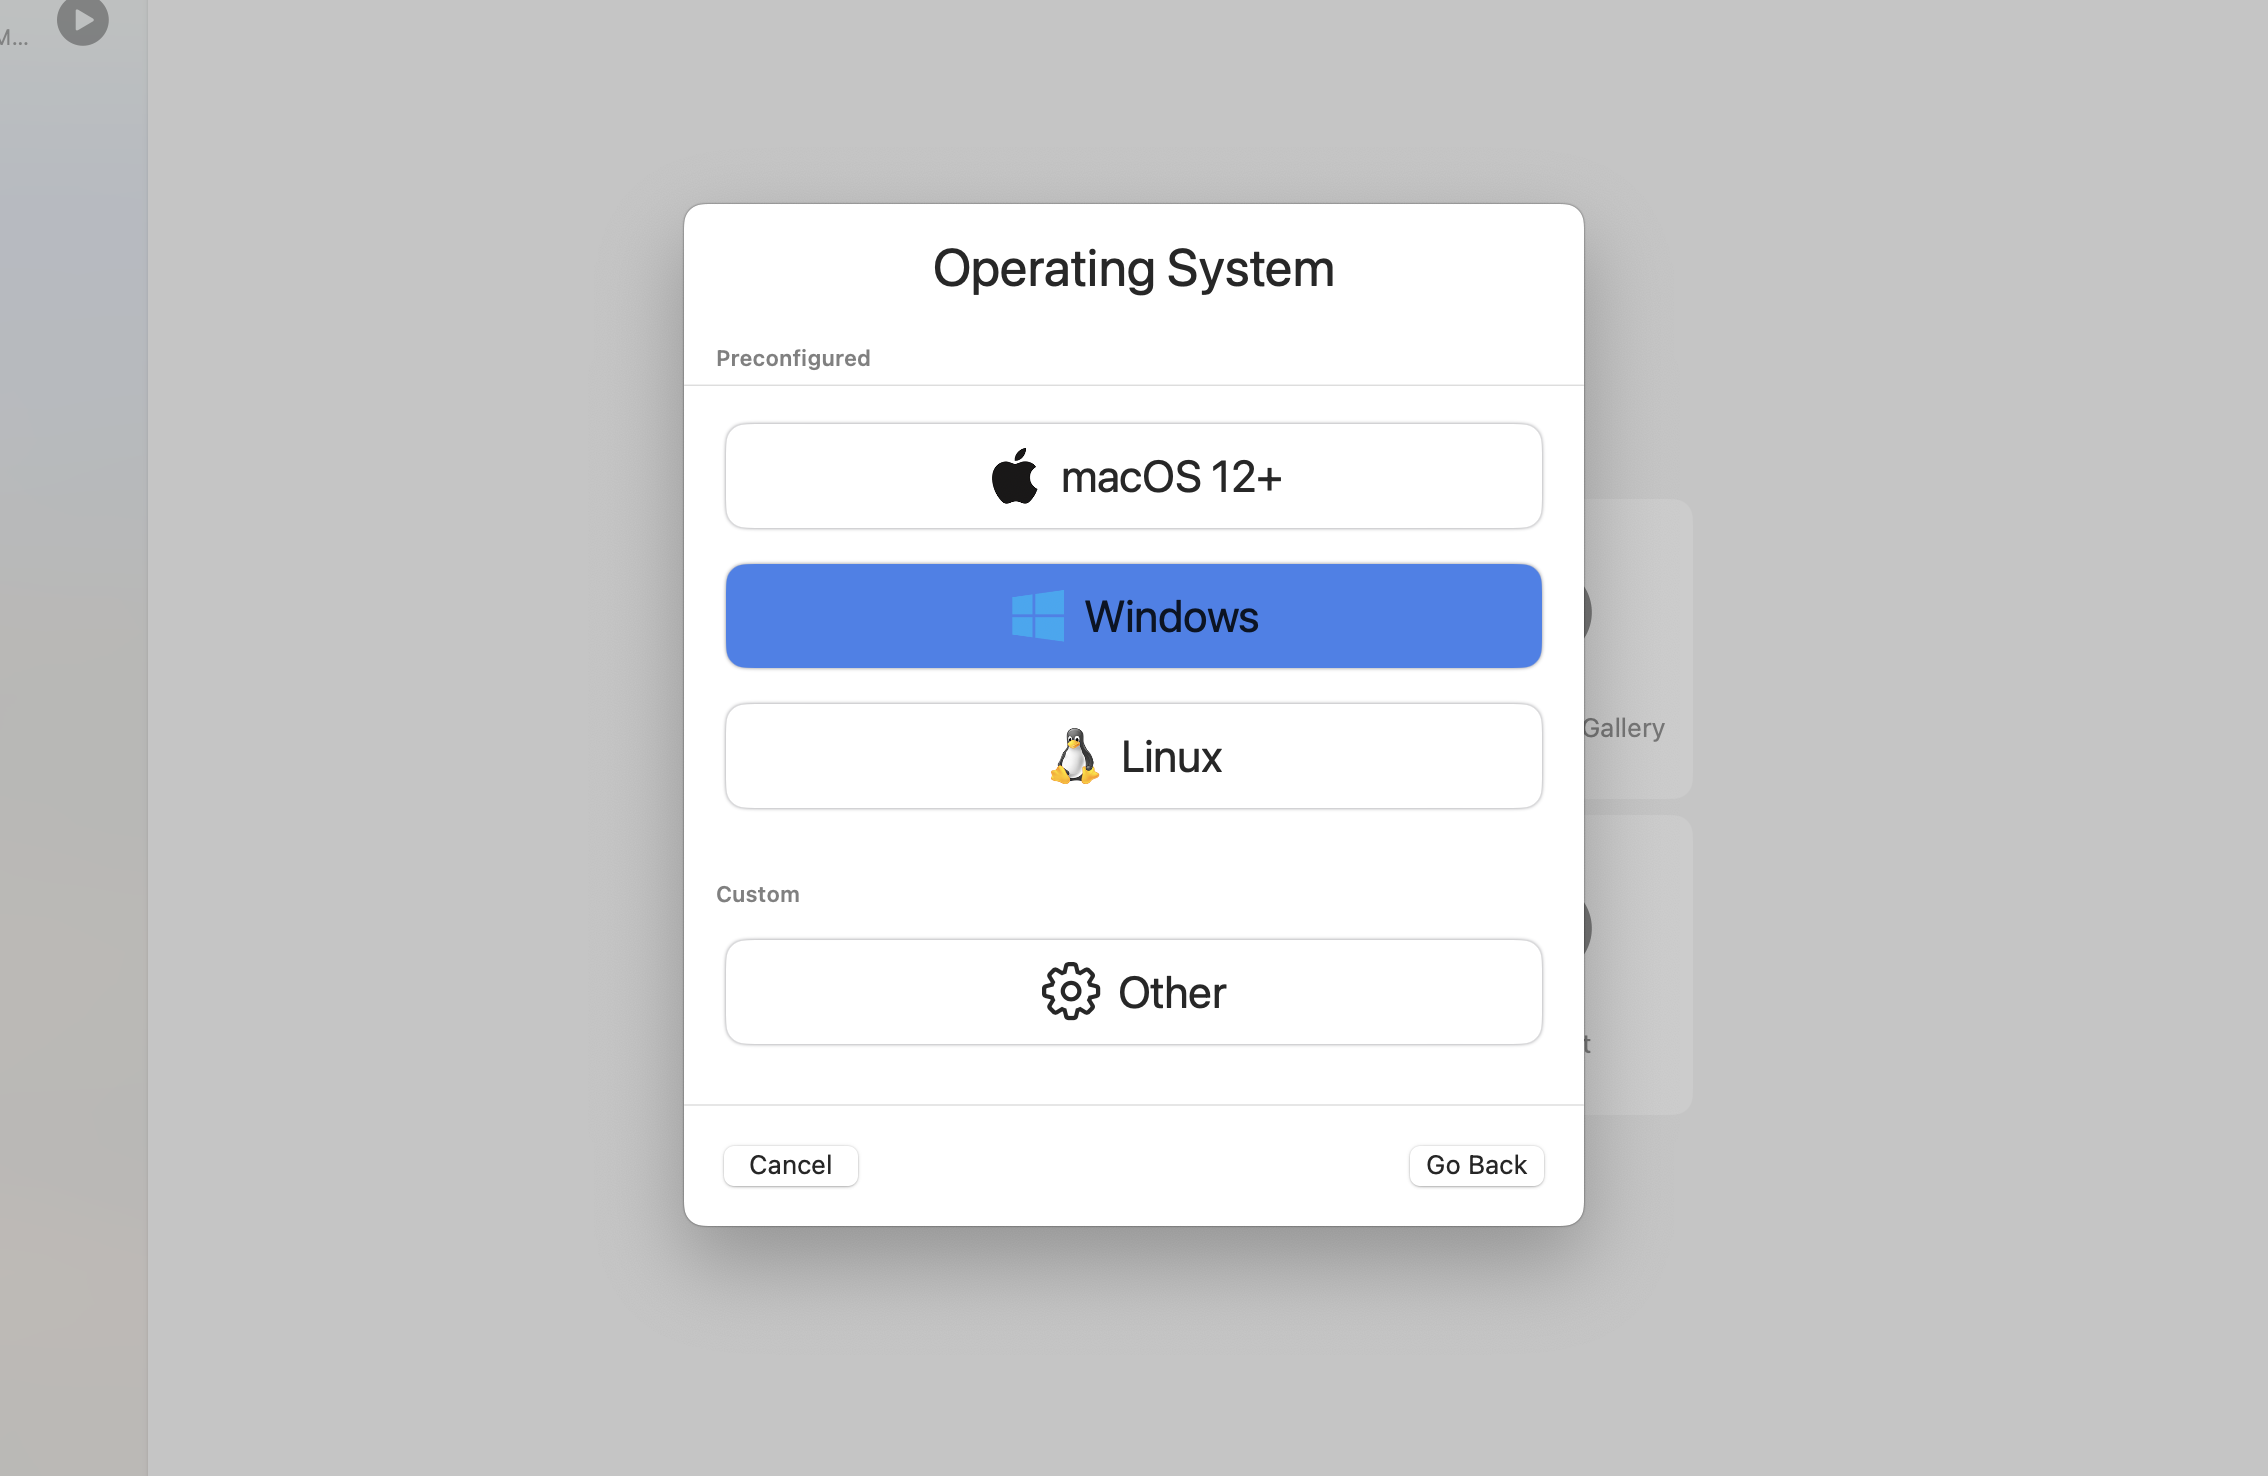
Then select “Windows”
At the next screen, you will choose the ISO image by clicking the “browse” button.
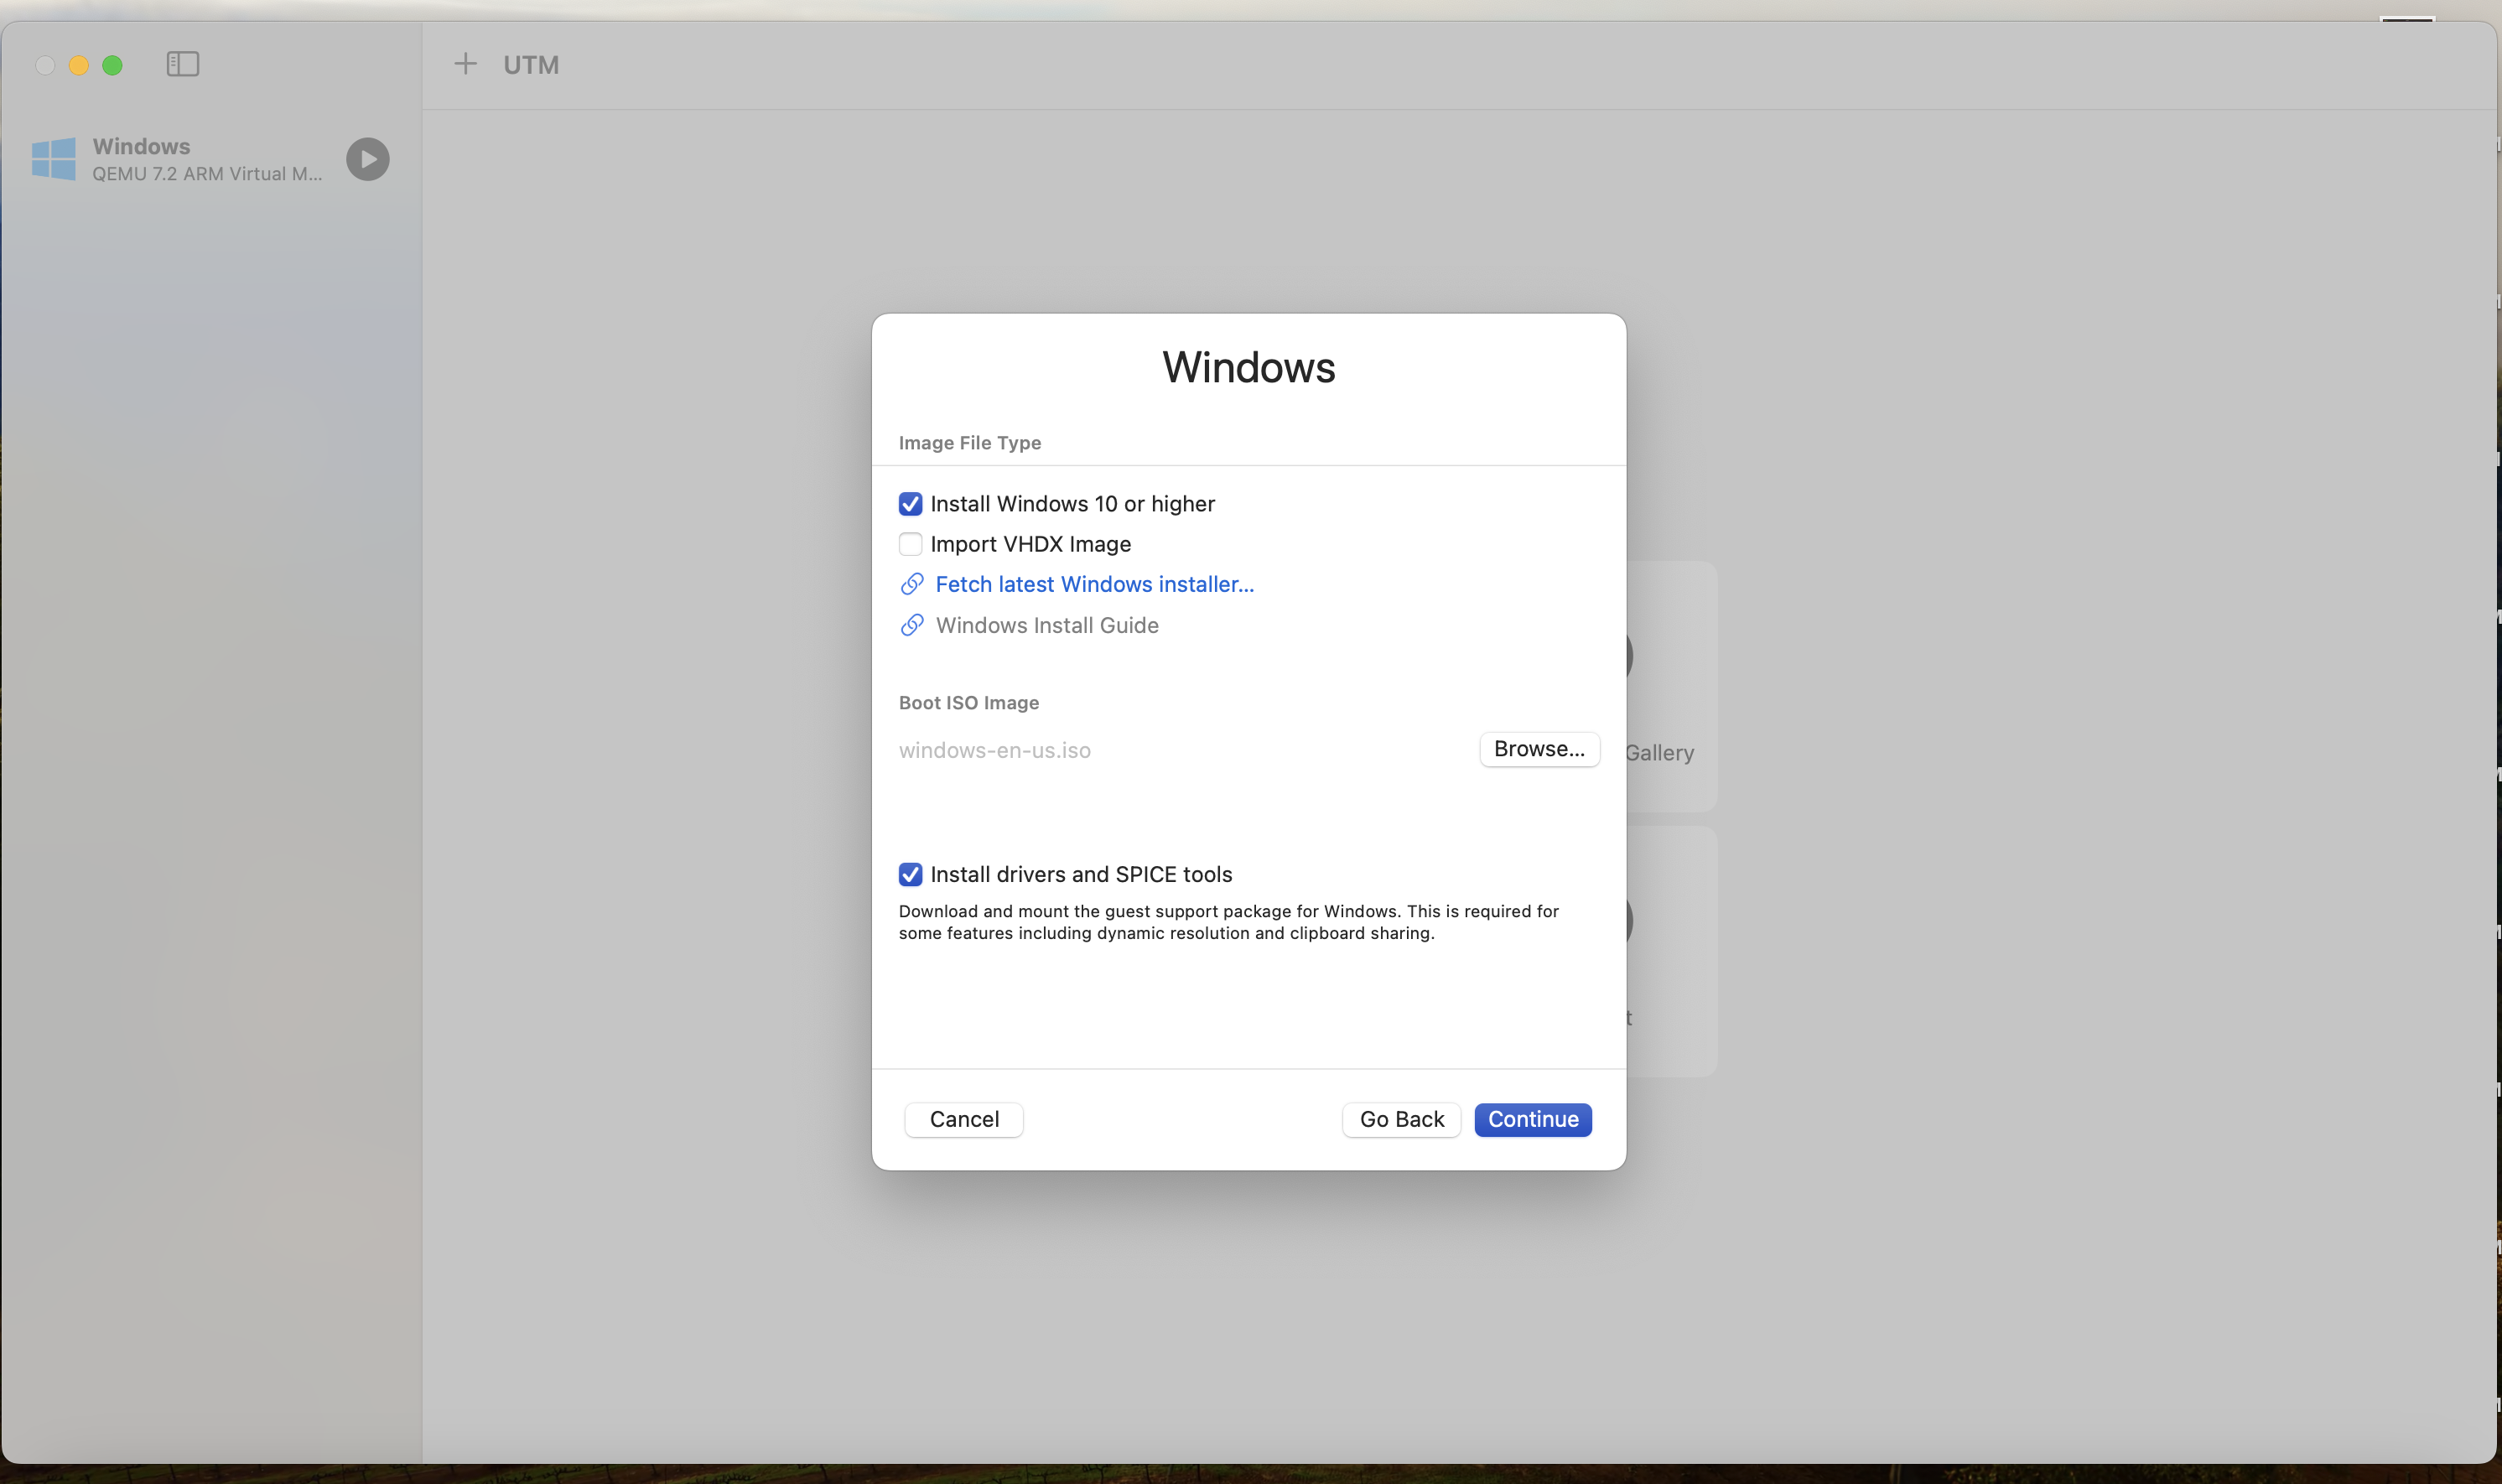
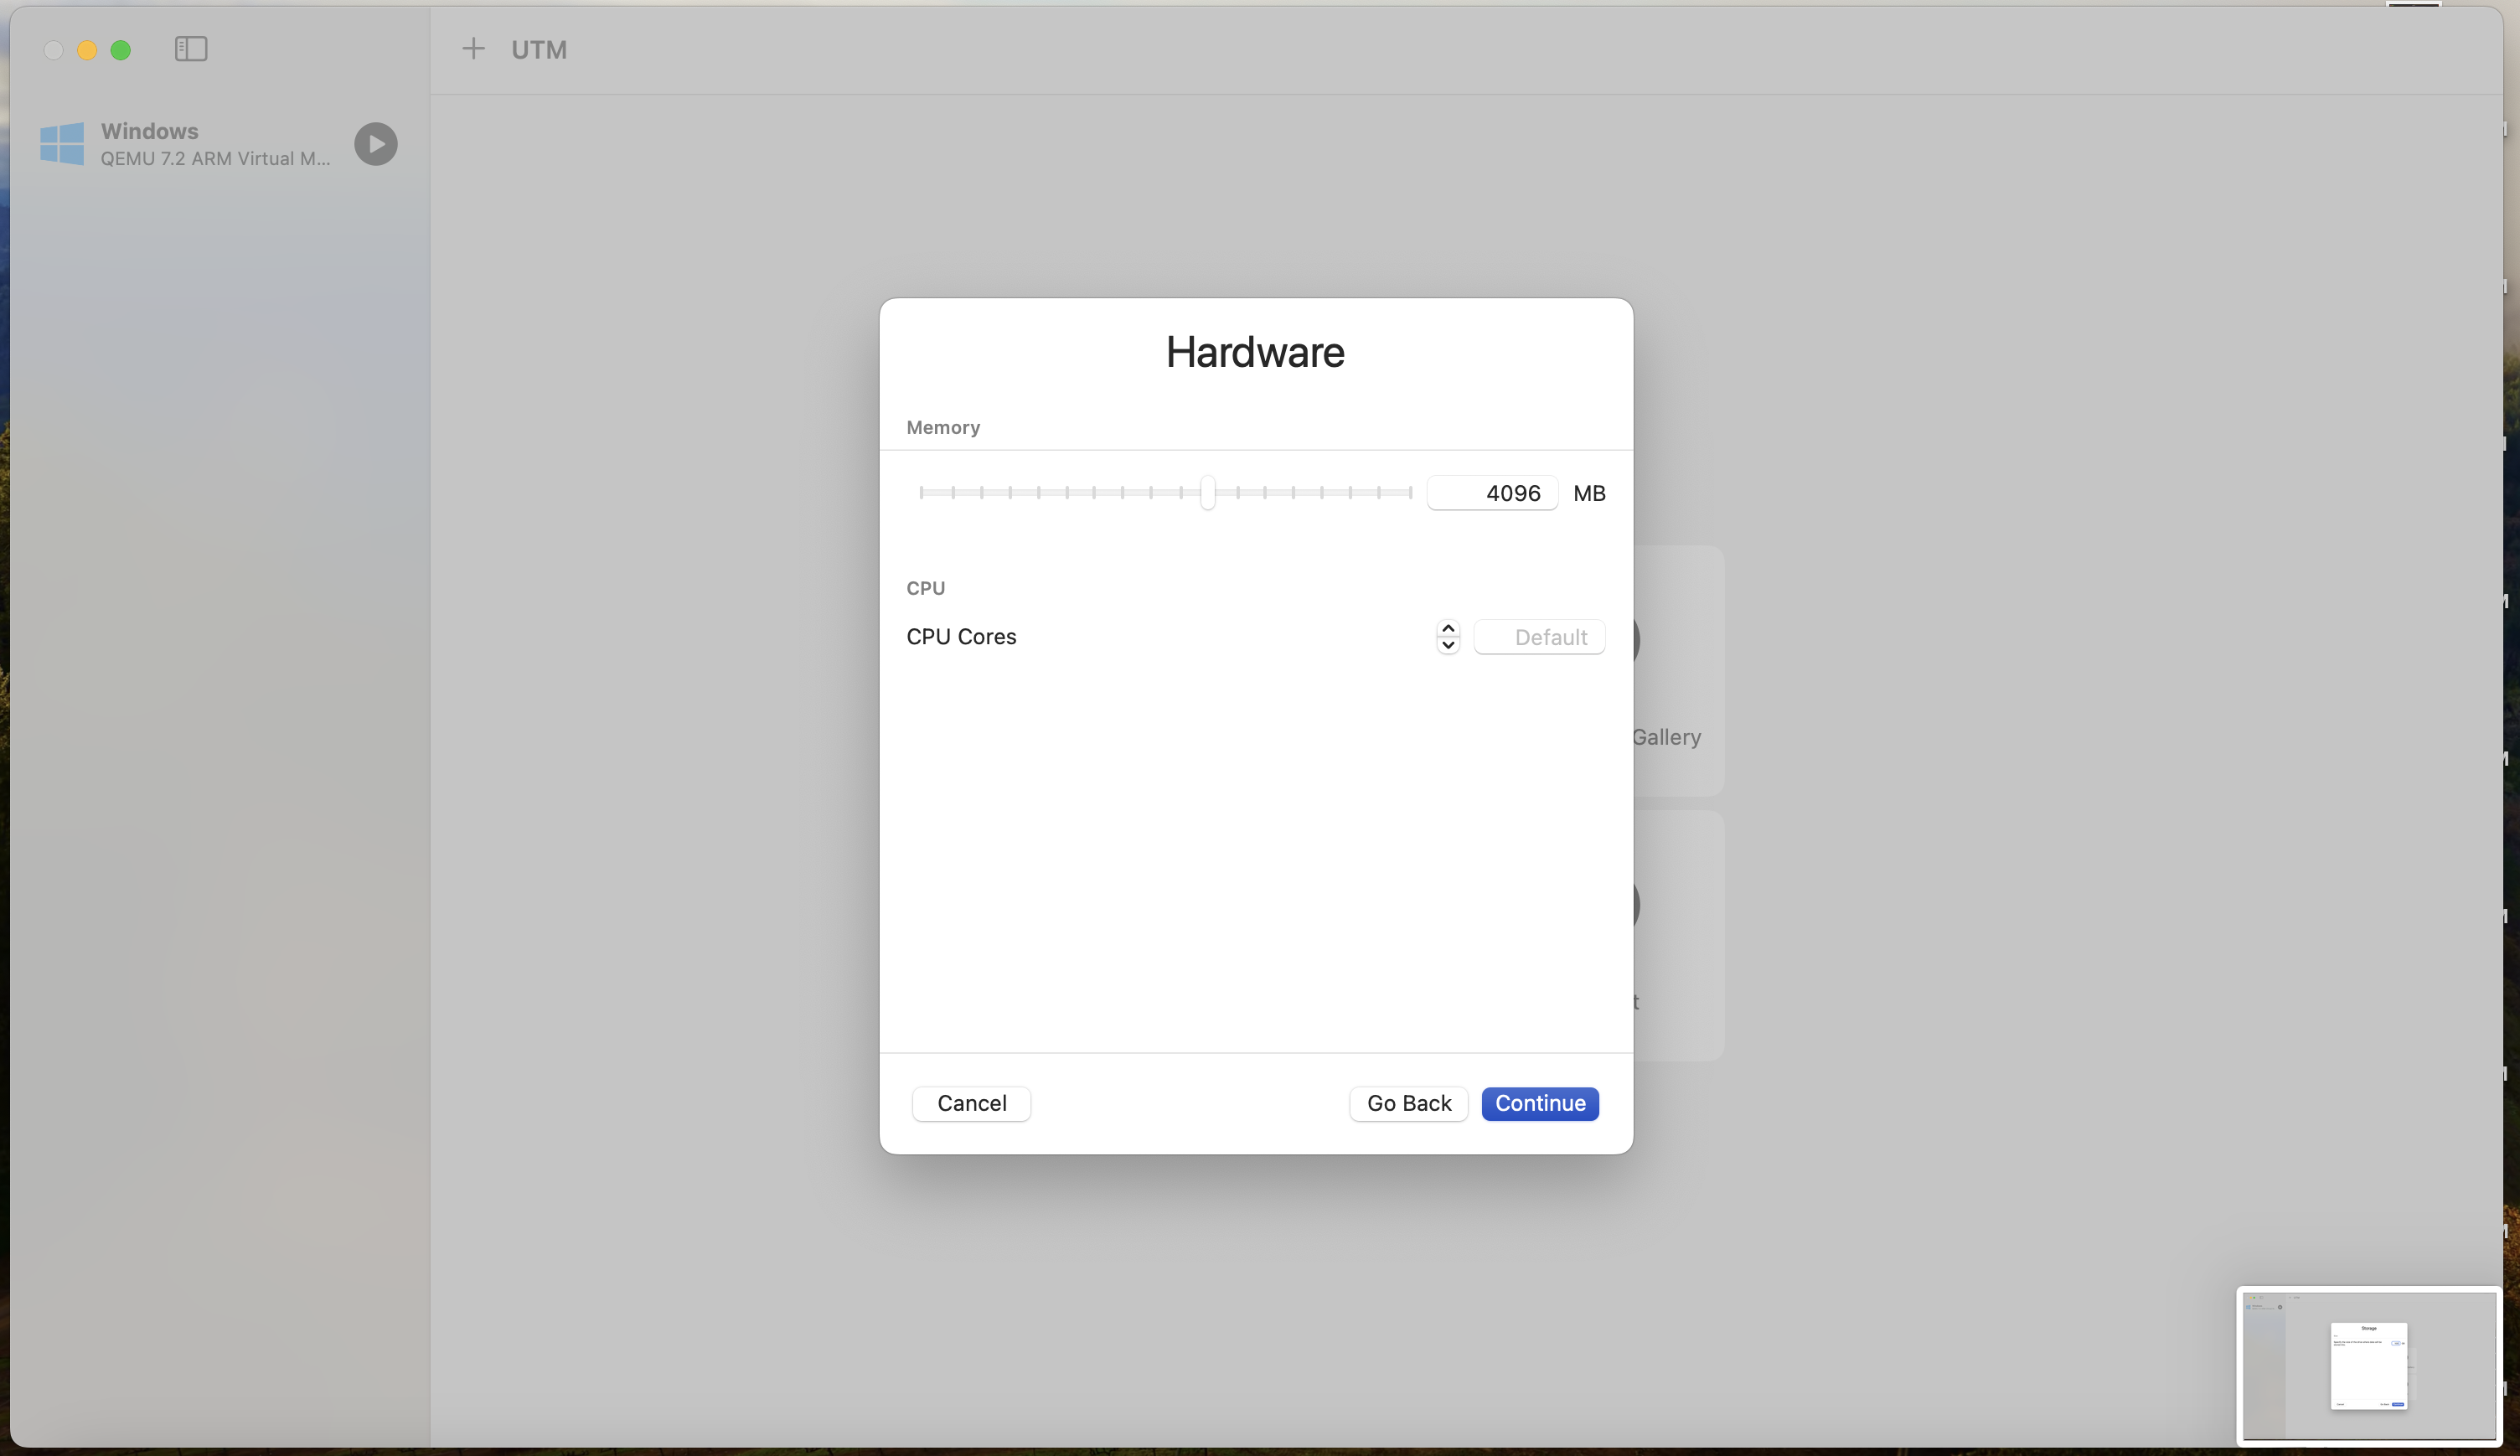
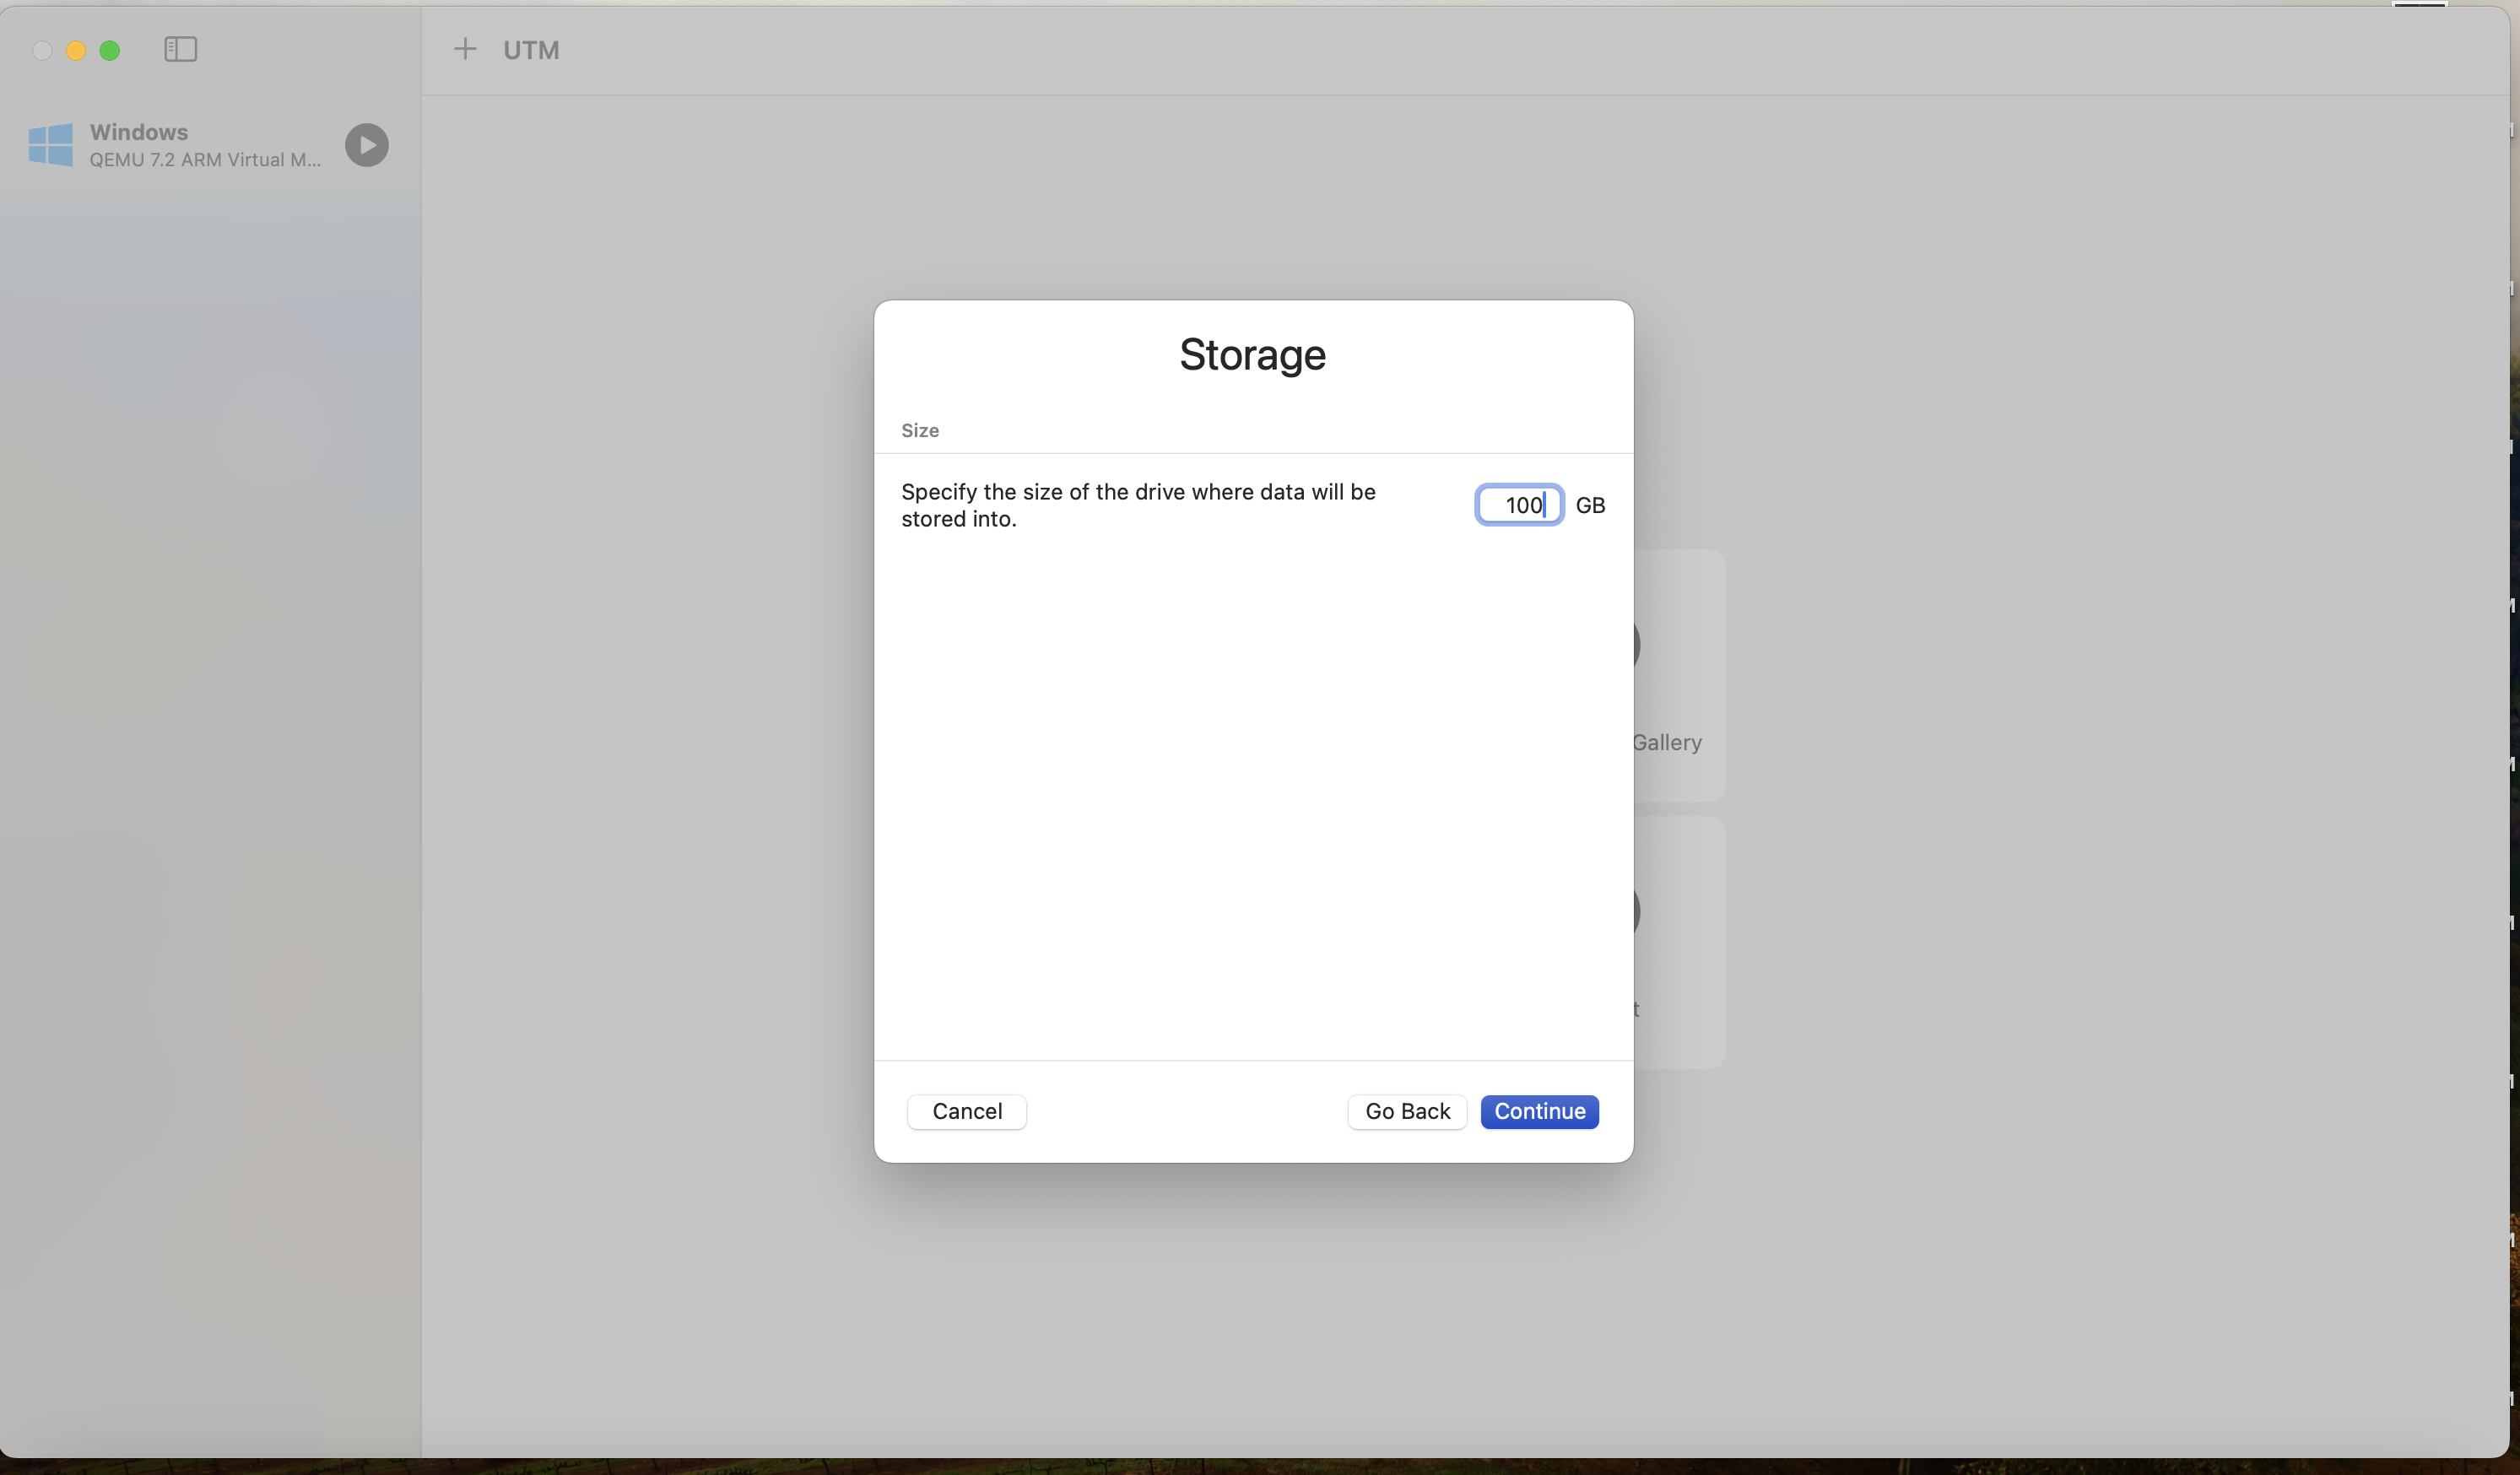
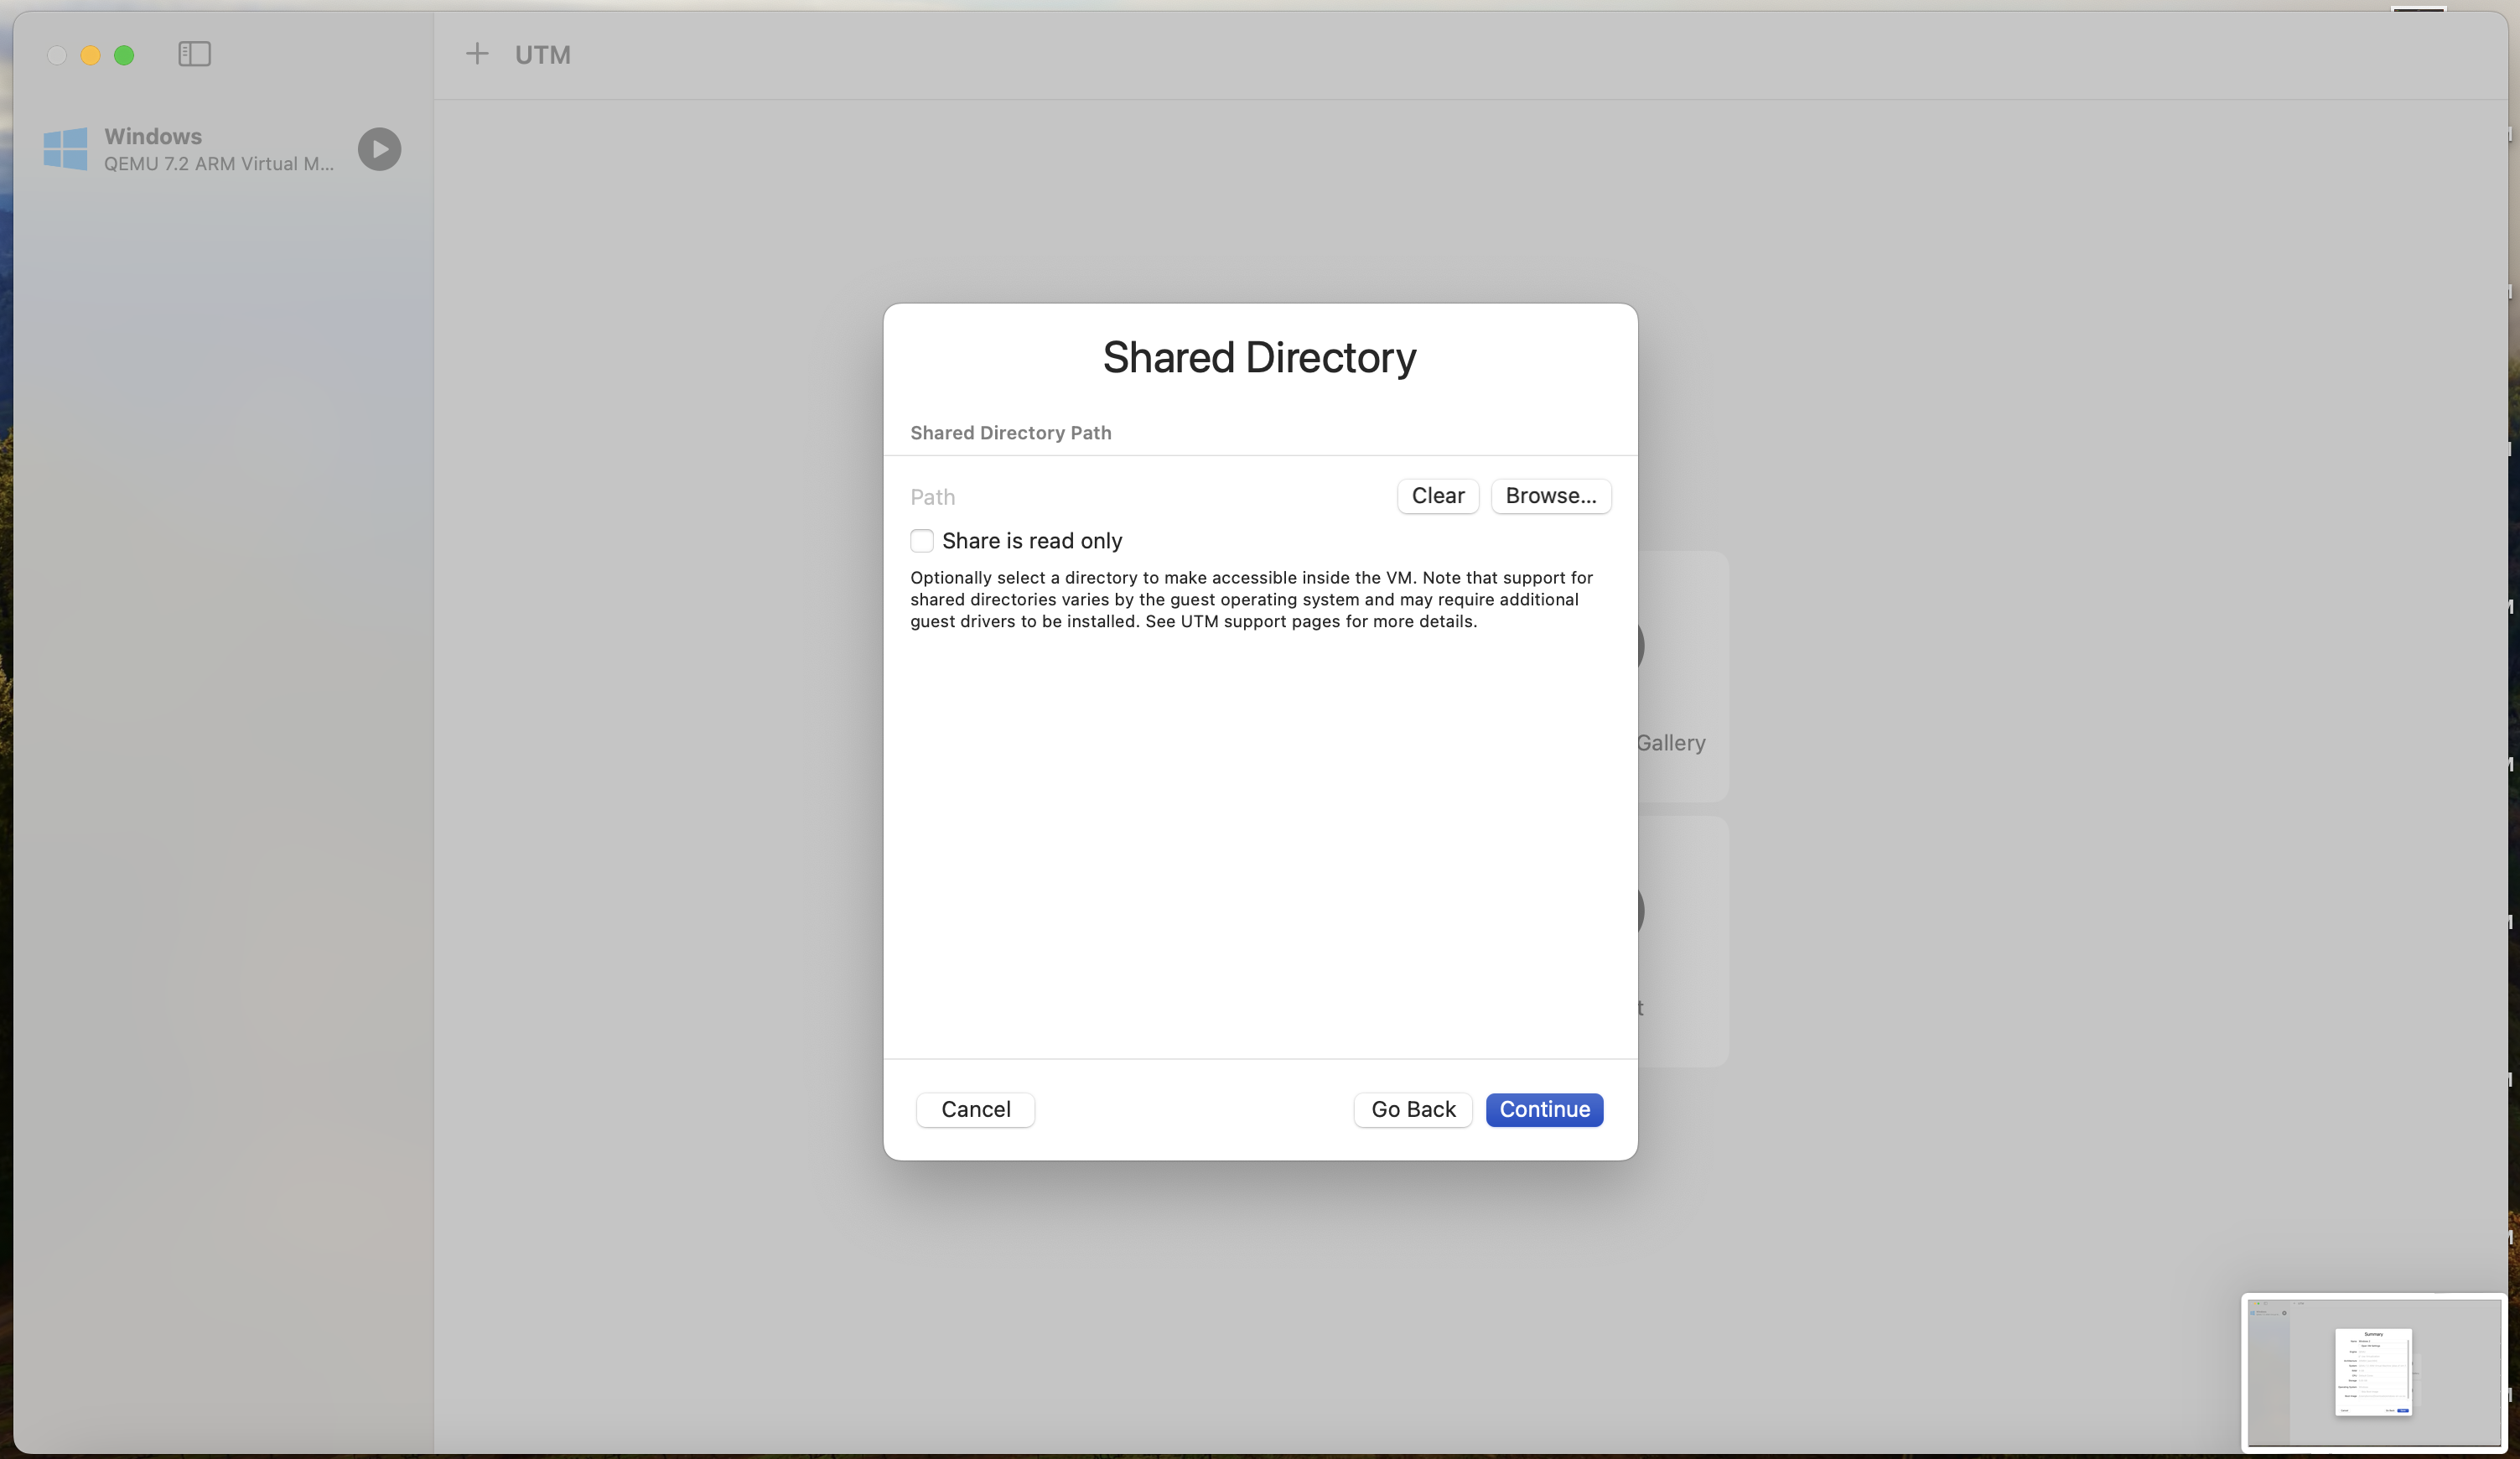
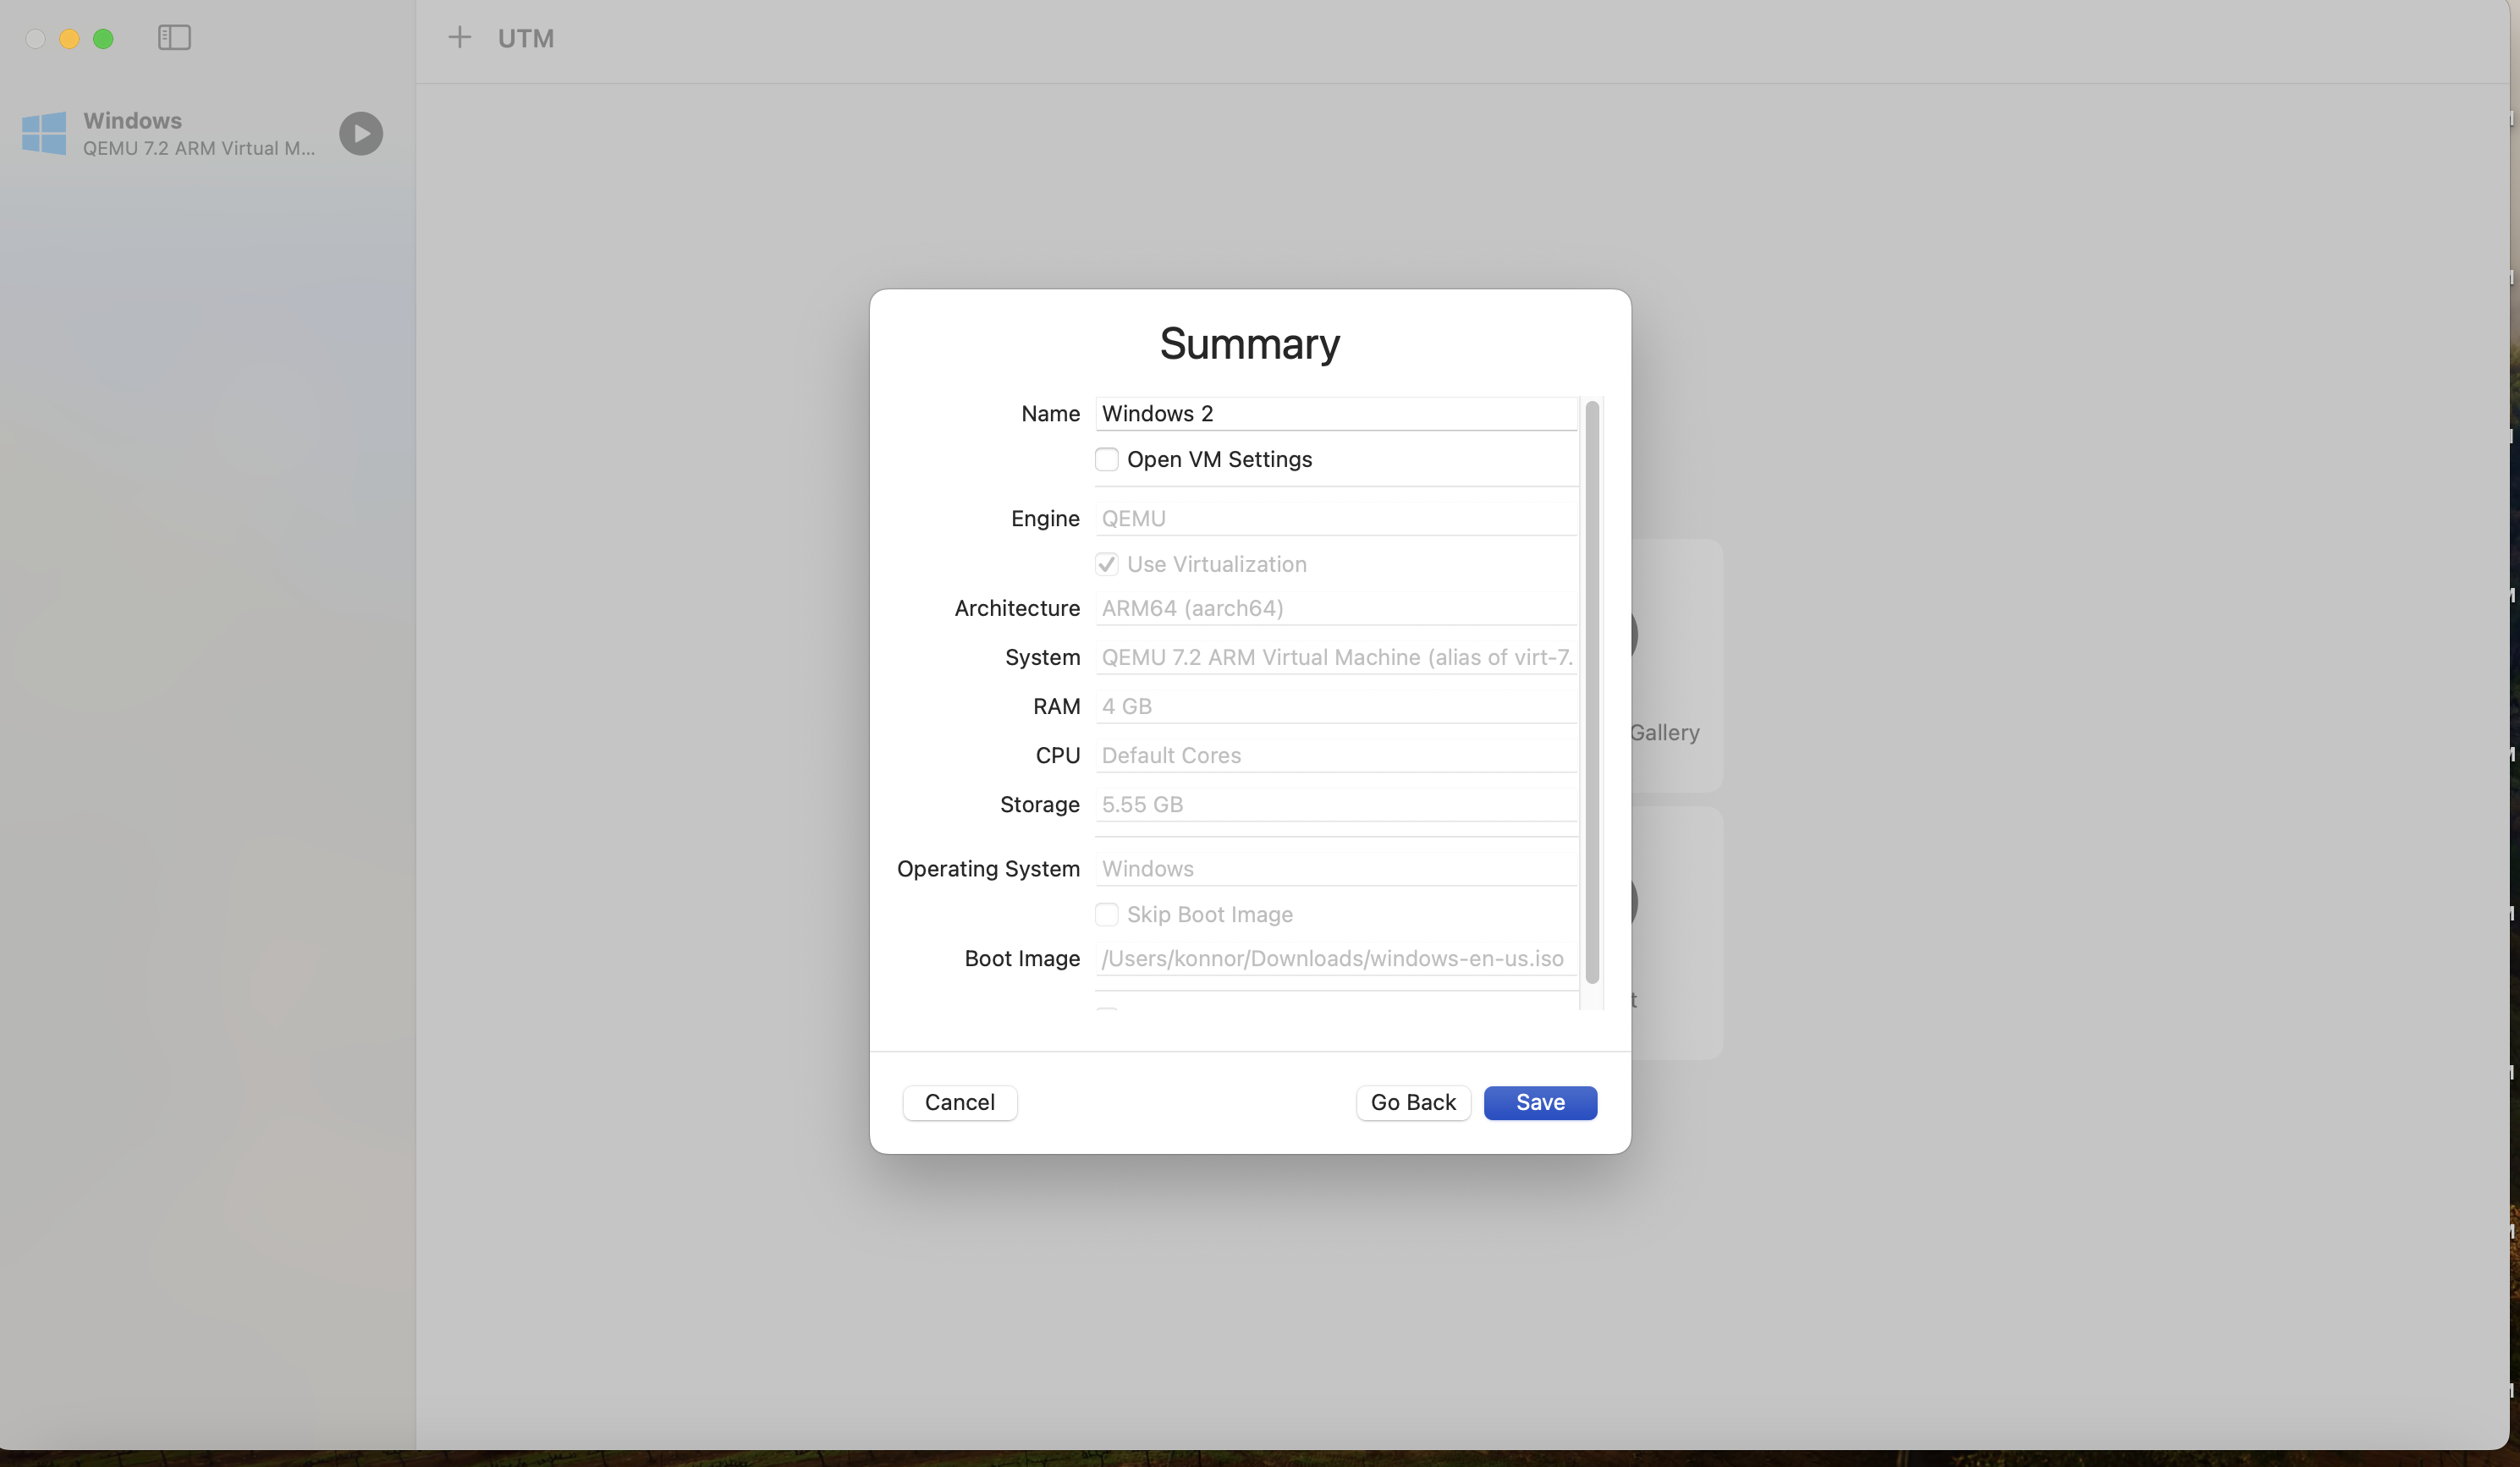
The next few pictures will outline the setup I chose. I left everything as the default, except for storage size which I bumped up to 100gb because many blog posts recommended it.
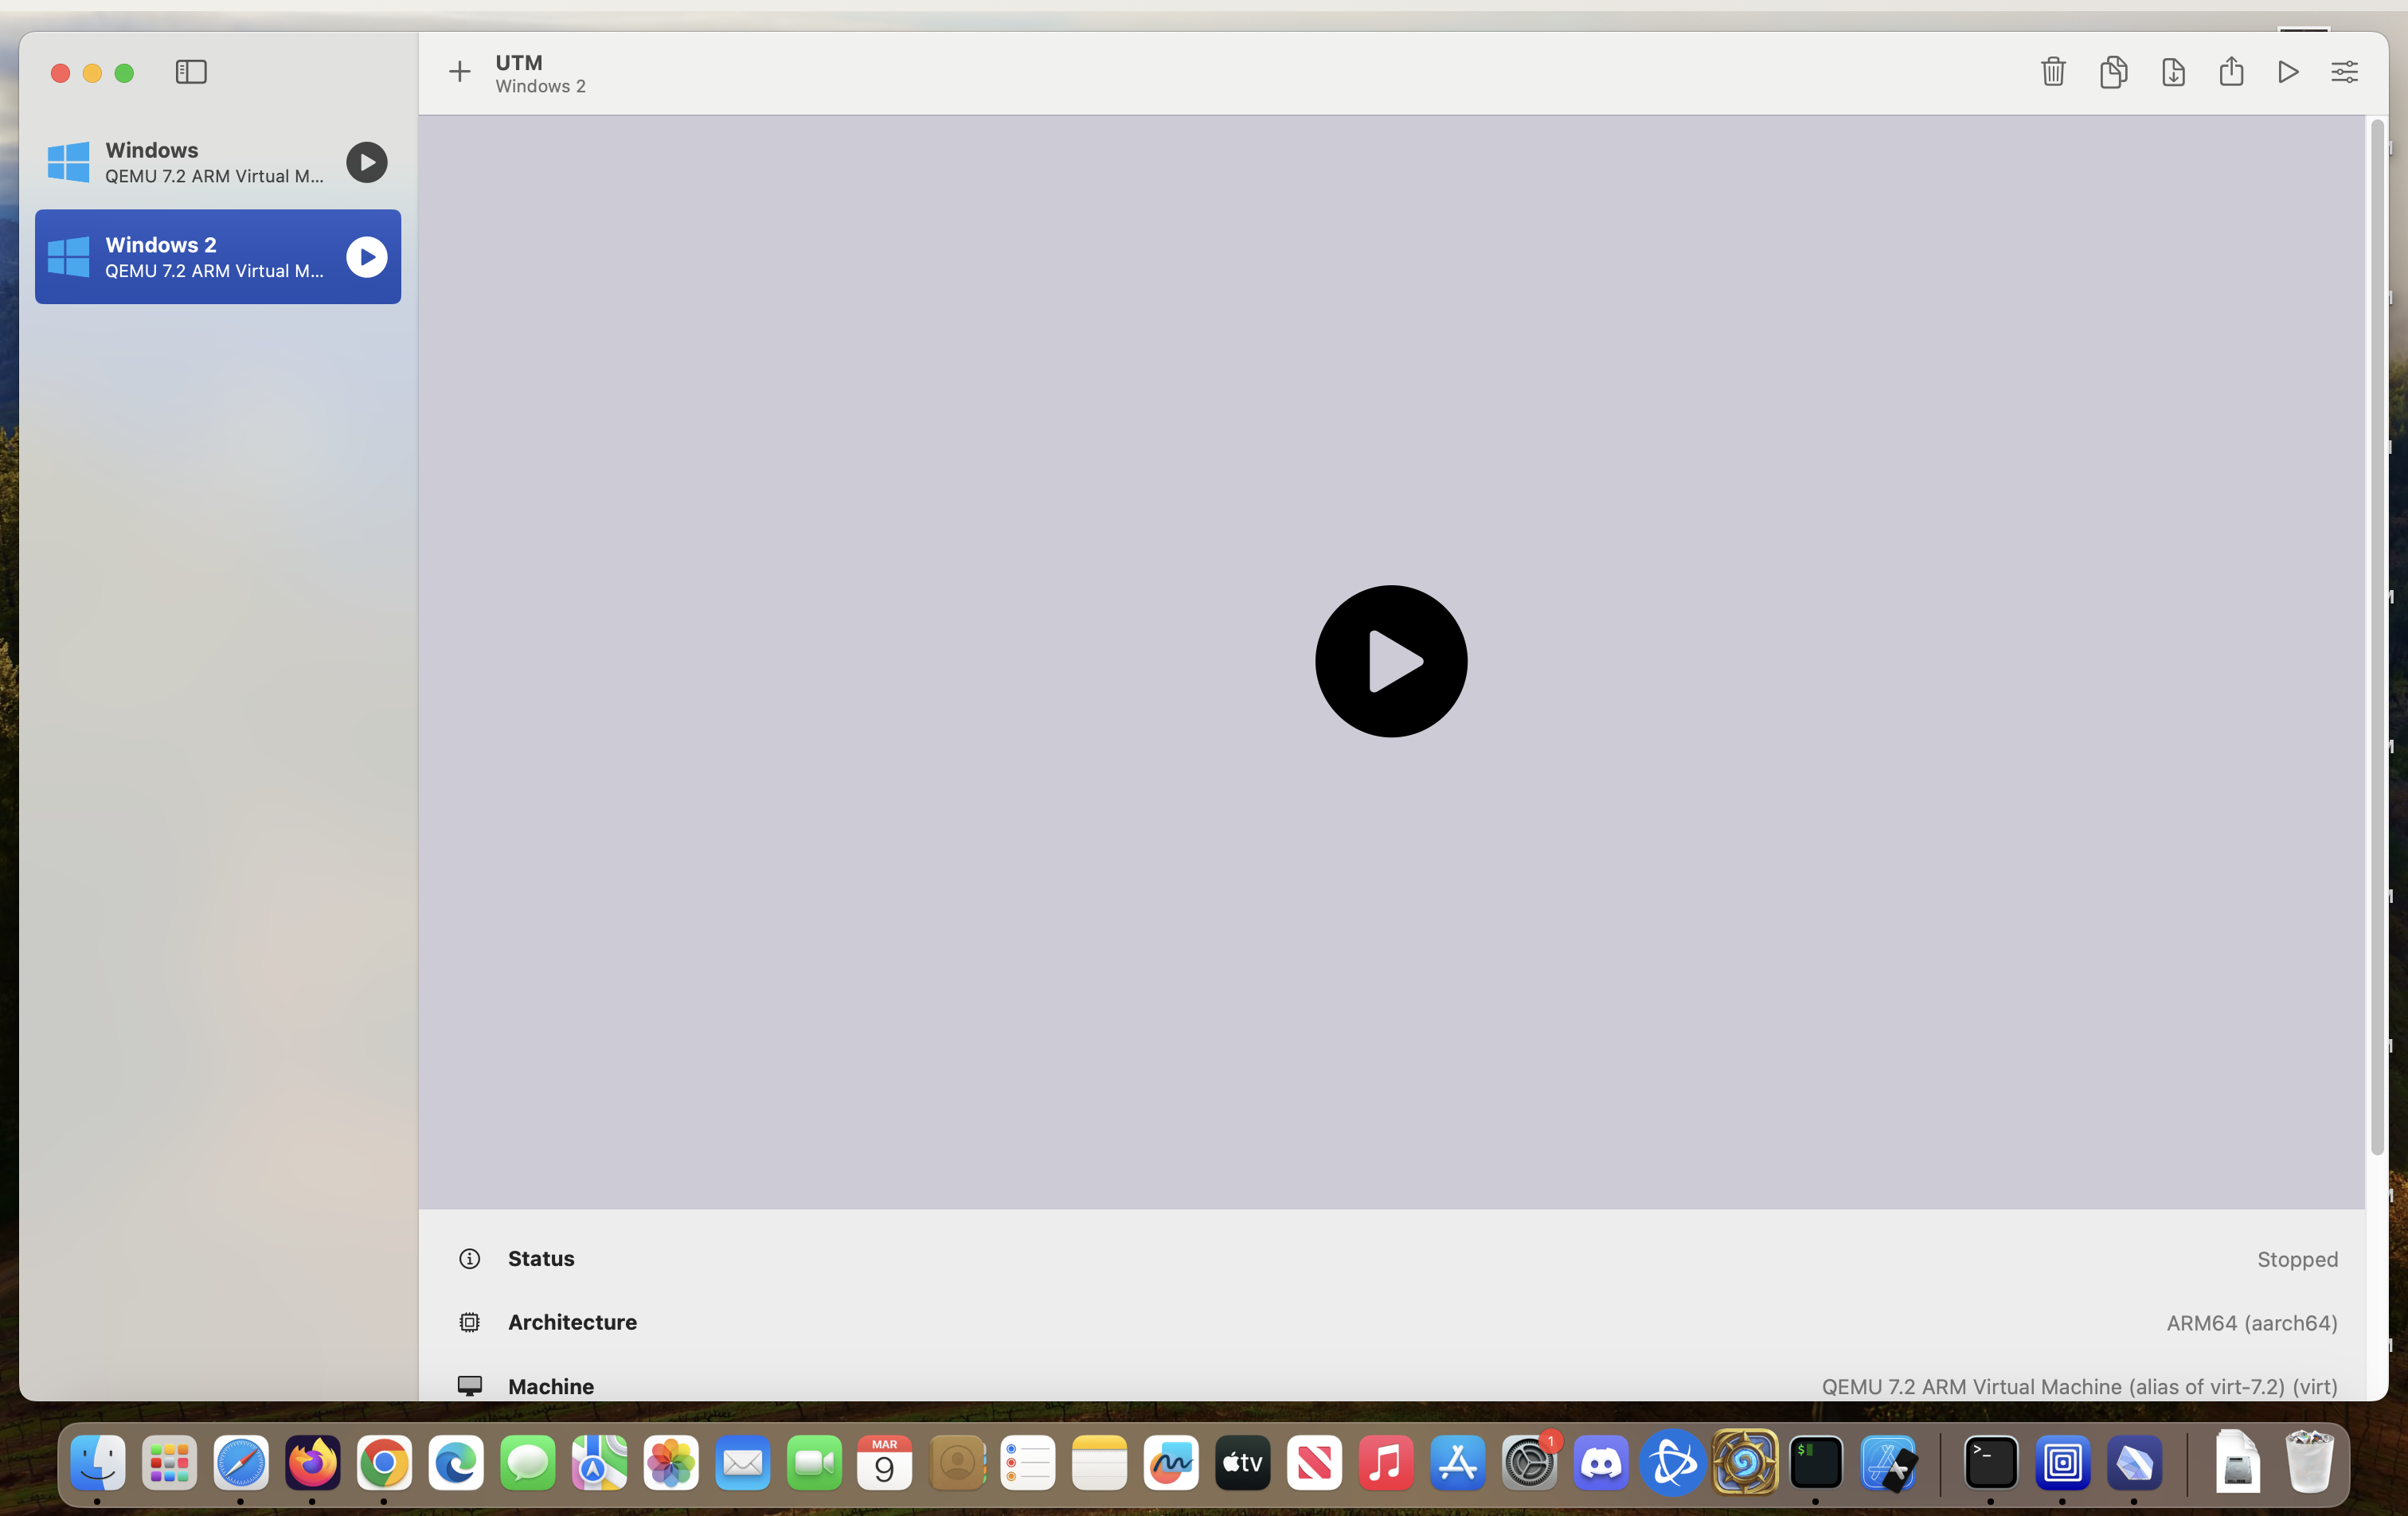
Once you’ve made it through the setup, you should be back at the start screen of UTM. From this screen, you should then be able start your virtualizer by clicking on the play button.
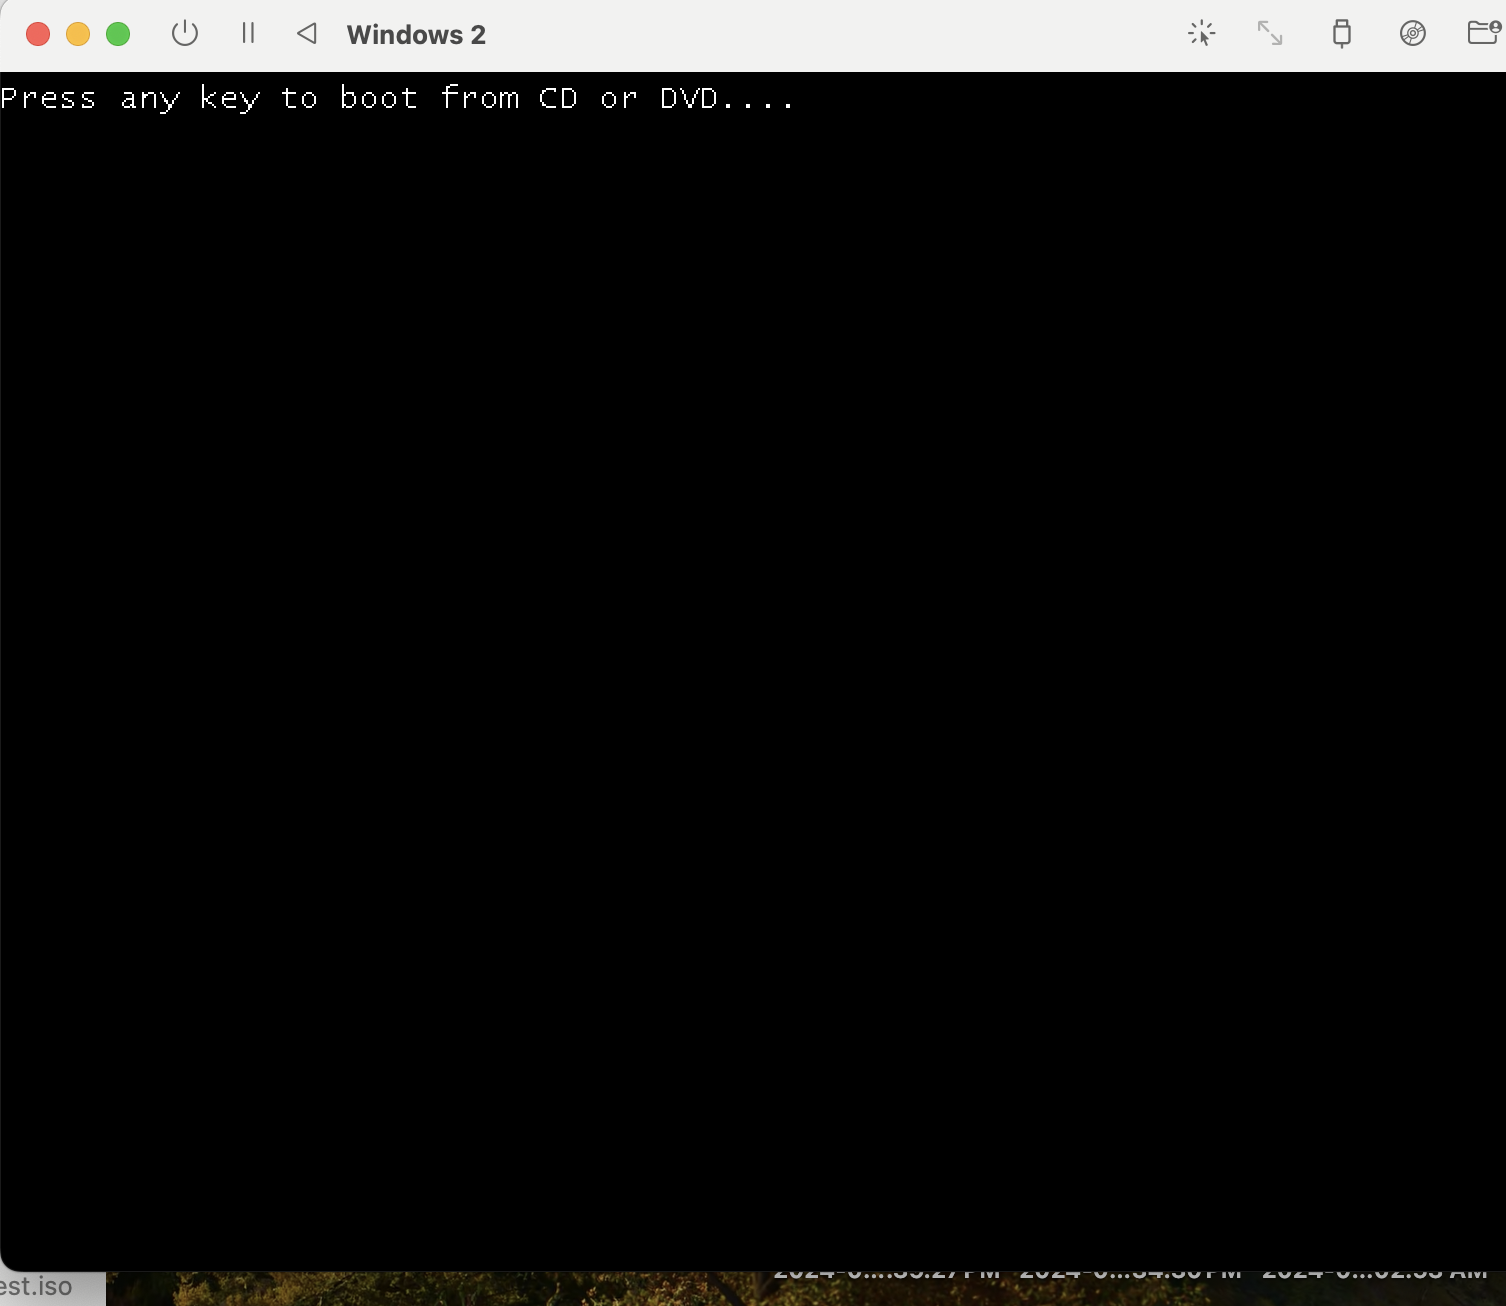
When your virtualizer boots up you should see a screen like this that say “Press any key to boot from CD/DVD”. Press any key and you should be able to skip the next few steps around shell setup.
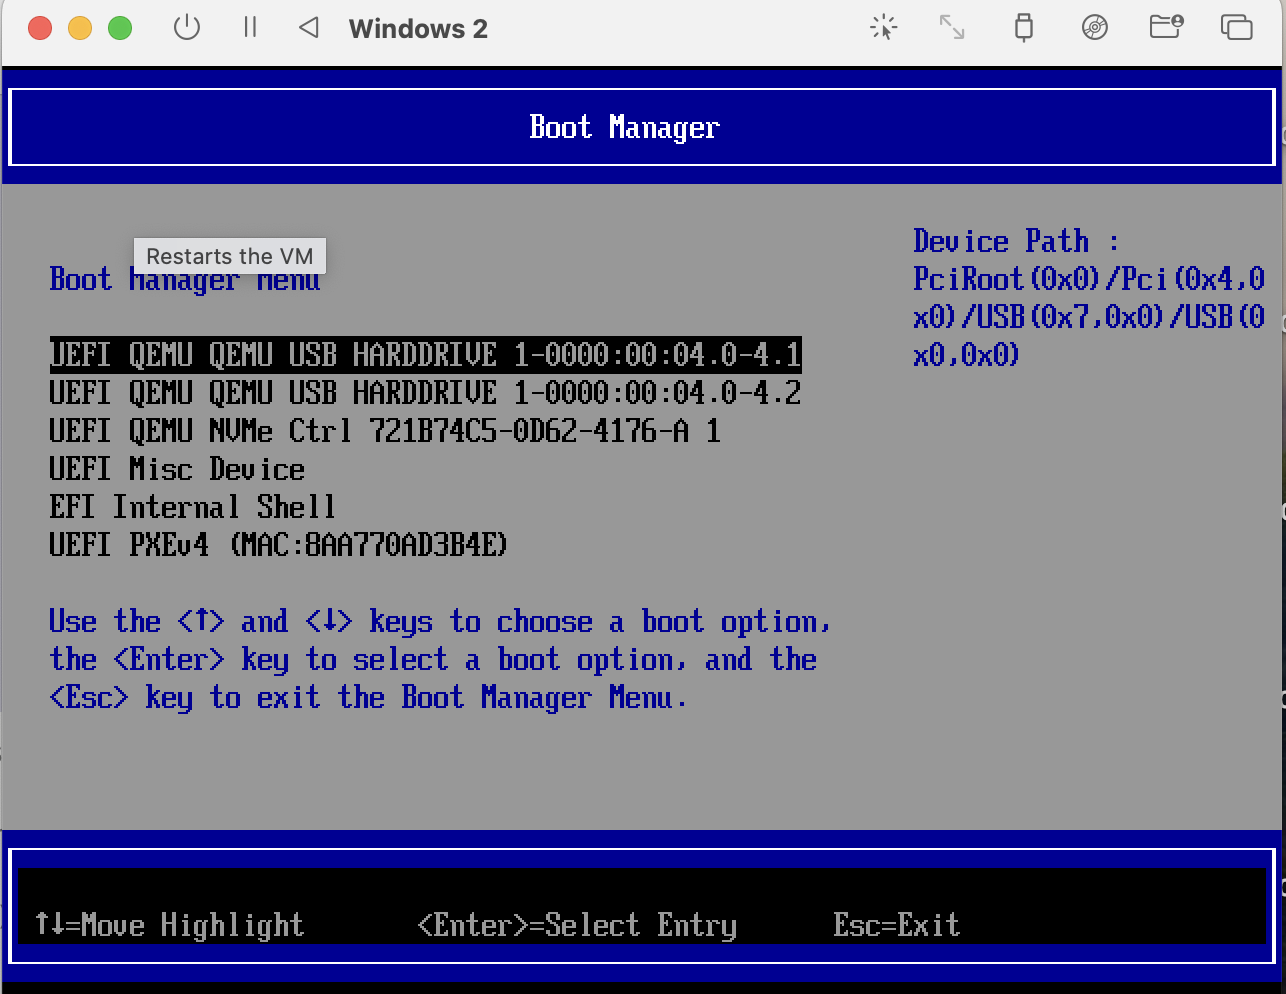
If you missed the “Press any key to boot screen”, you may end up in a shell that looks like the following:
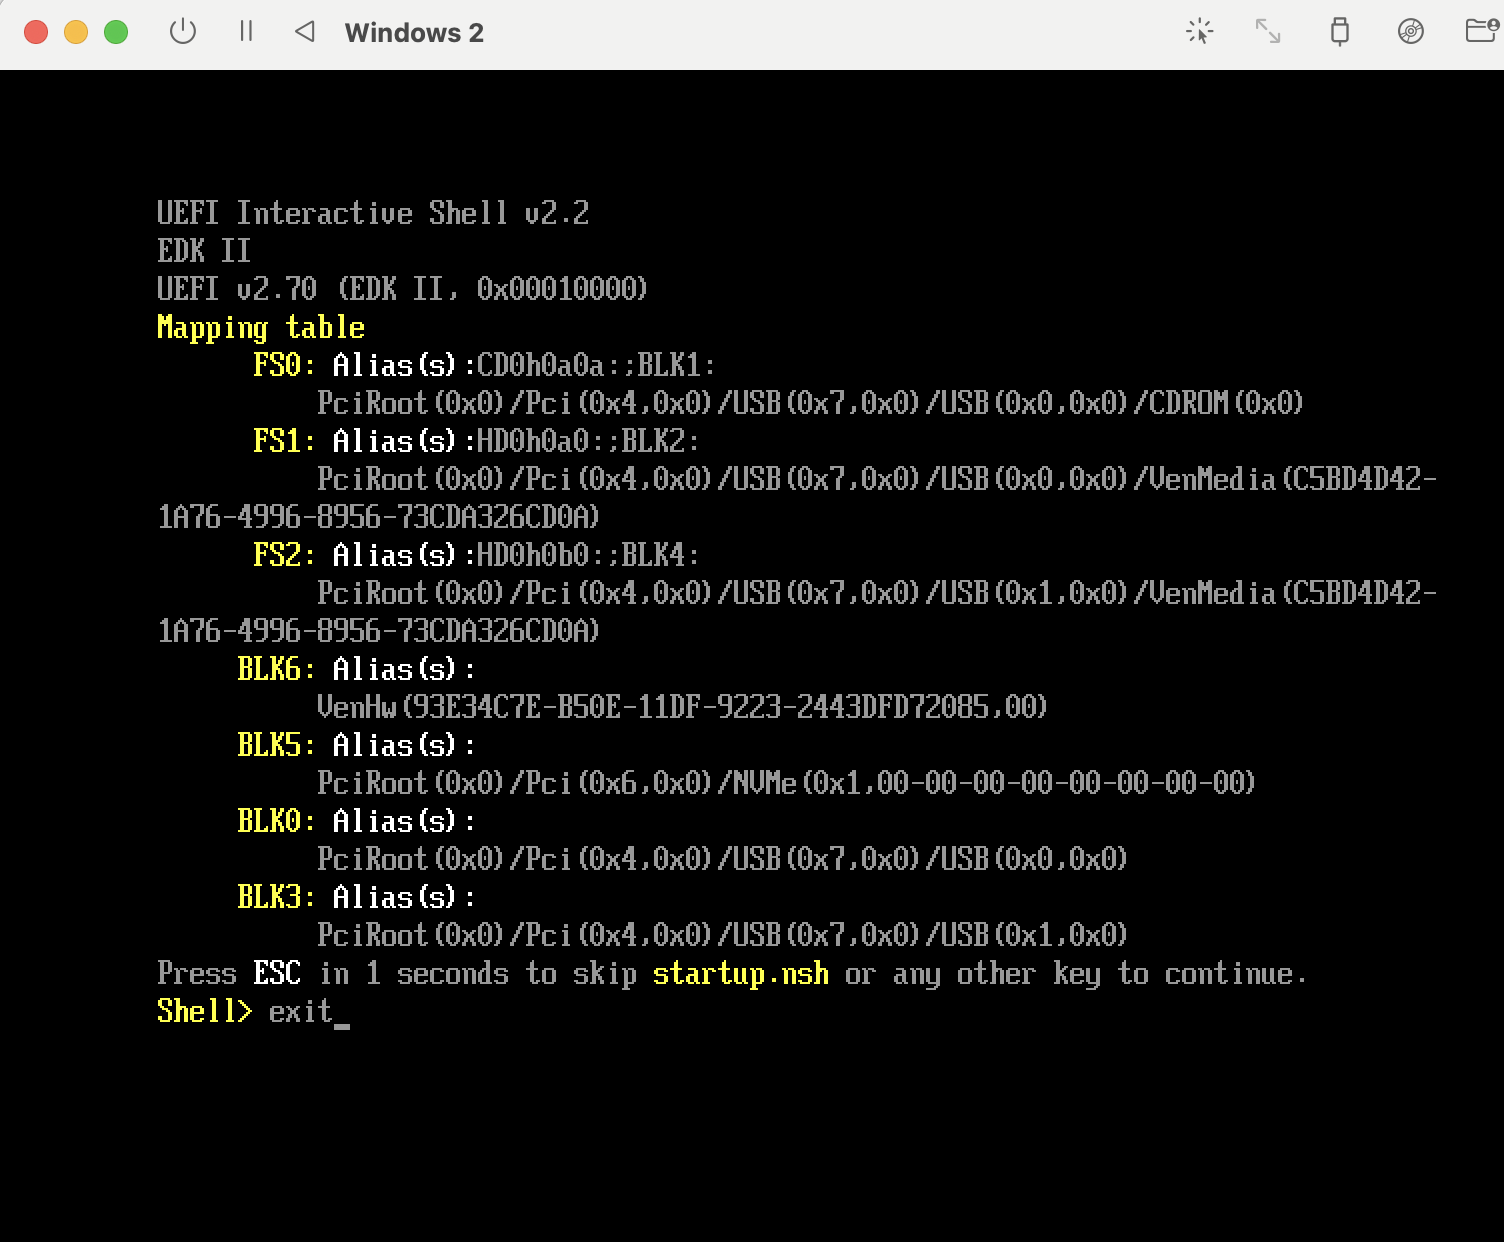
If you end up here, type: exit into the shell, and then go to “Boot Manager”, and then select the first option.

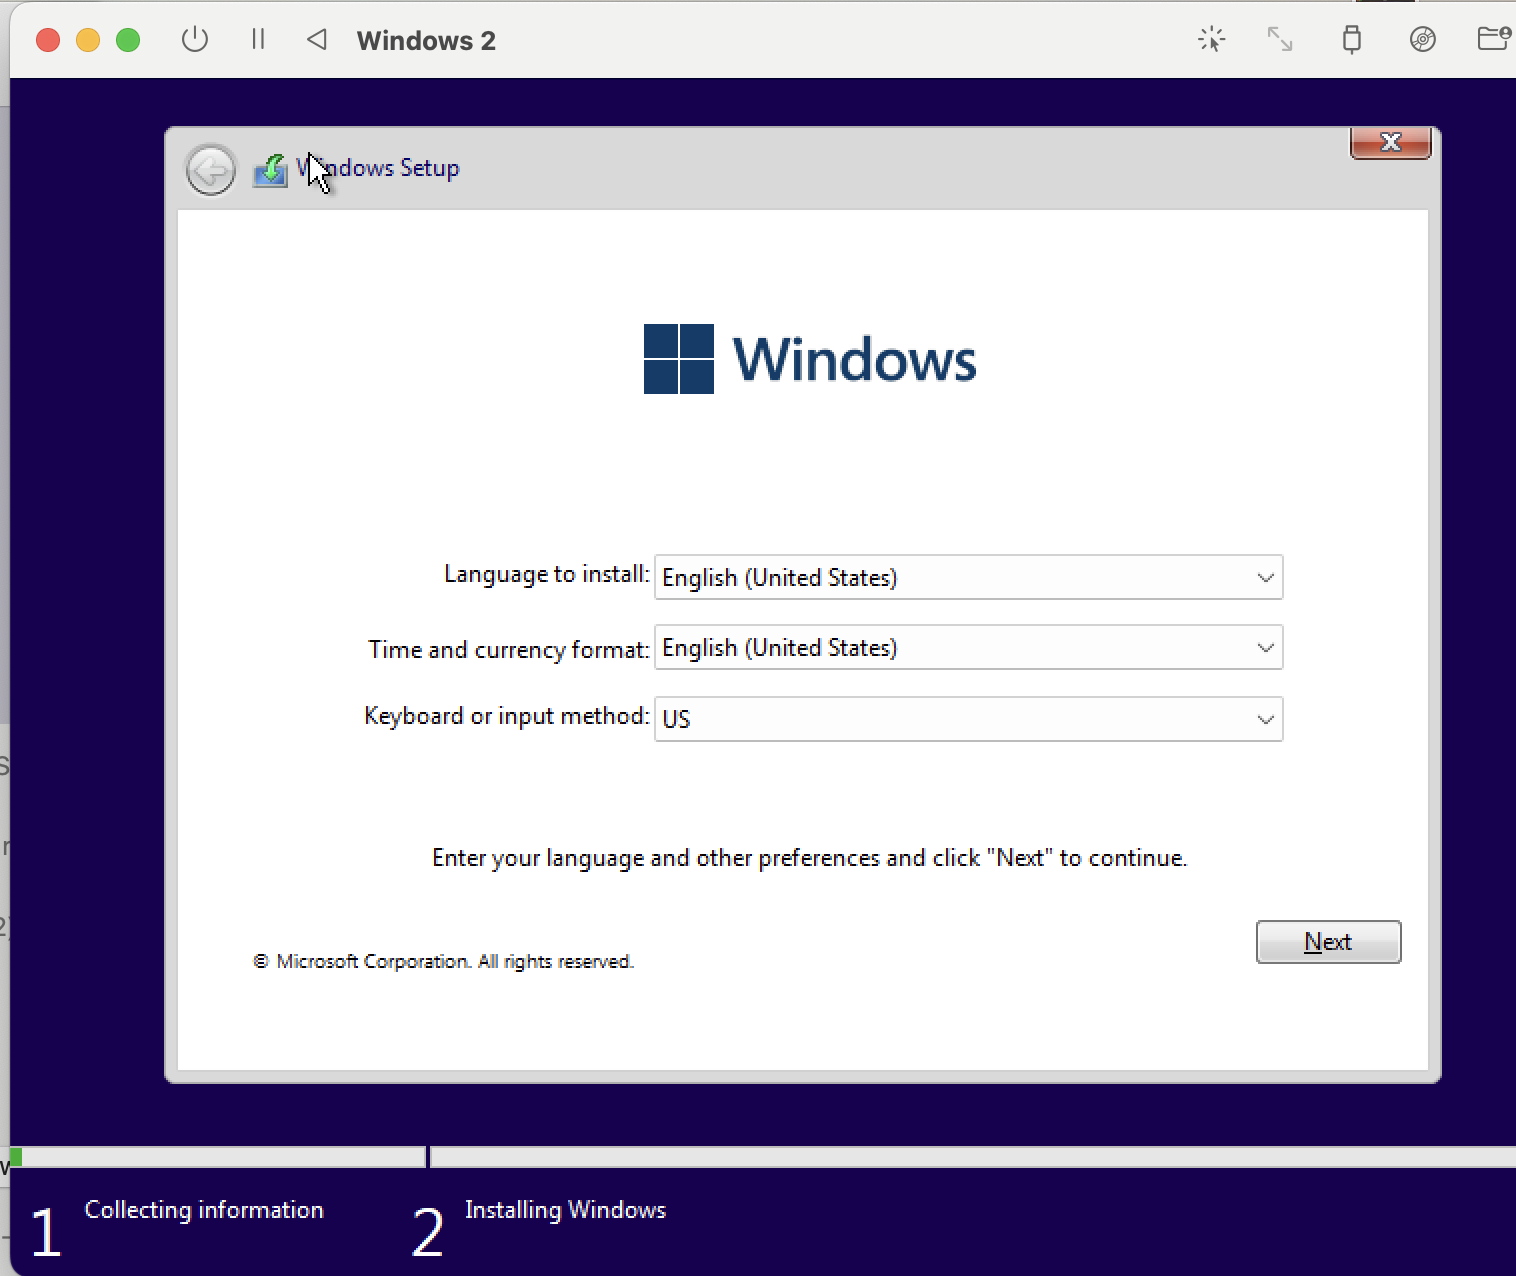
Assuming everything went well for you, you should end up at the Windows 11 Setup Screen like below.
Follow the instructions for installation on the screen.
Assuming everything went well, you should end up with Windows 11 working inside of UTM / QEMU!
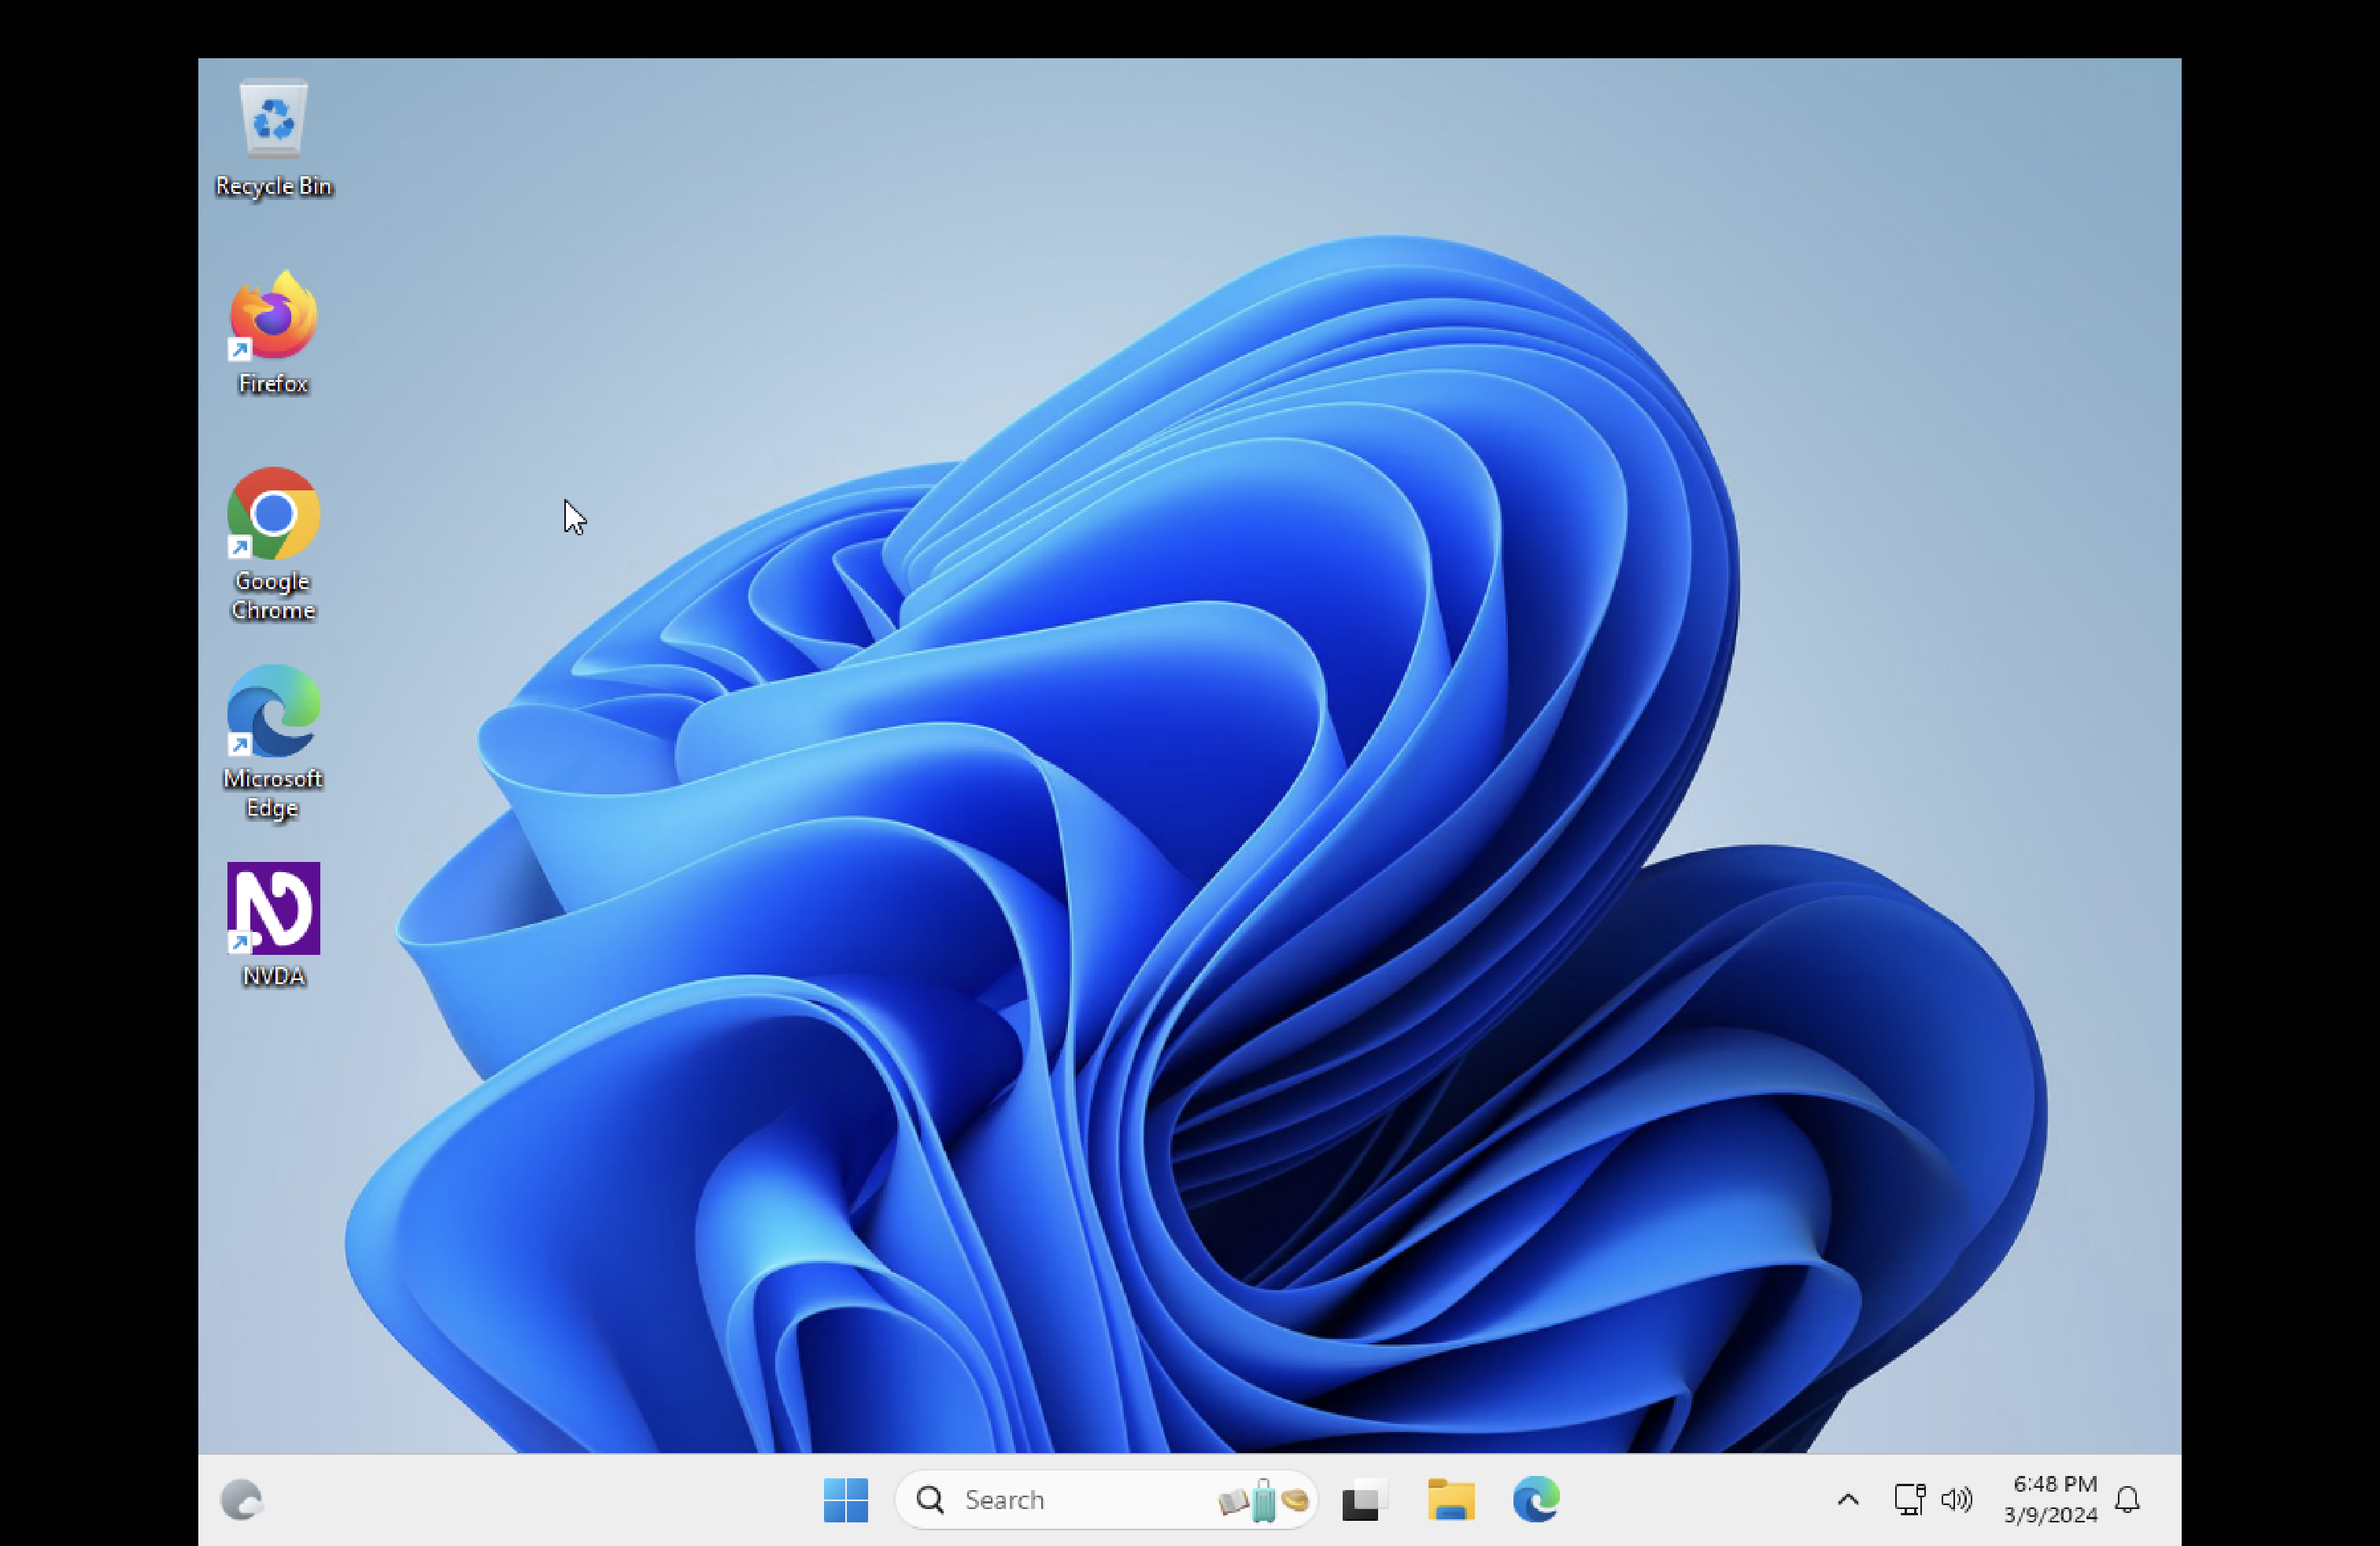
Good luck, and enjoy your new found power! Please also considering donating to UTM, QEMU, and CrystalFetch, without whom, the above wouldn’t be possible.